


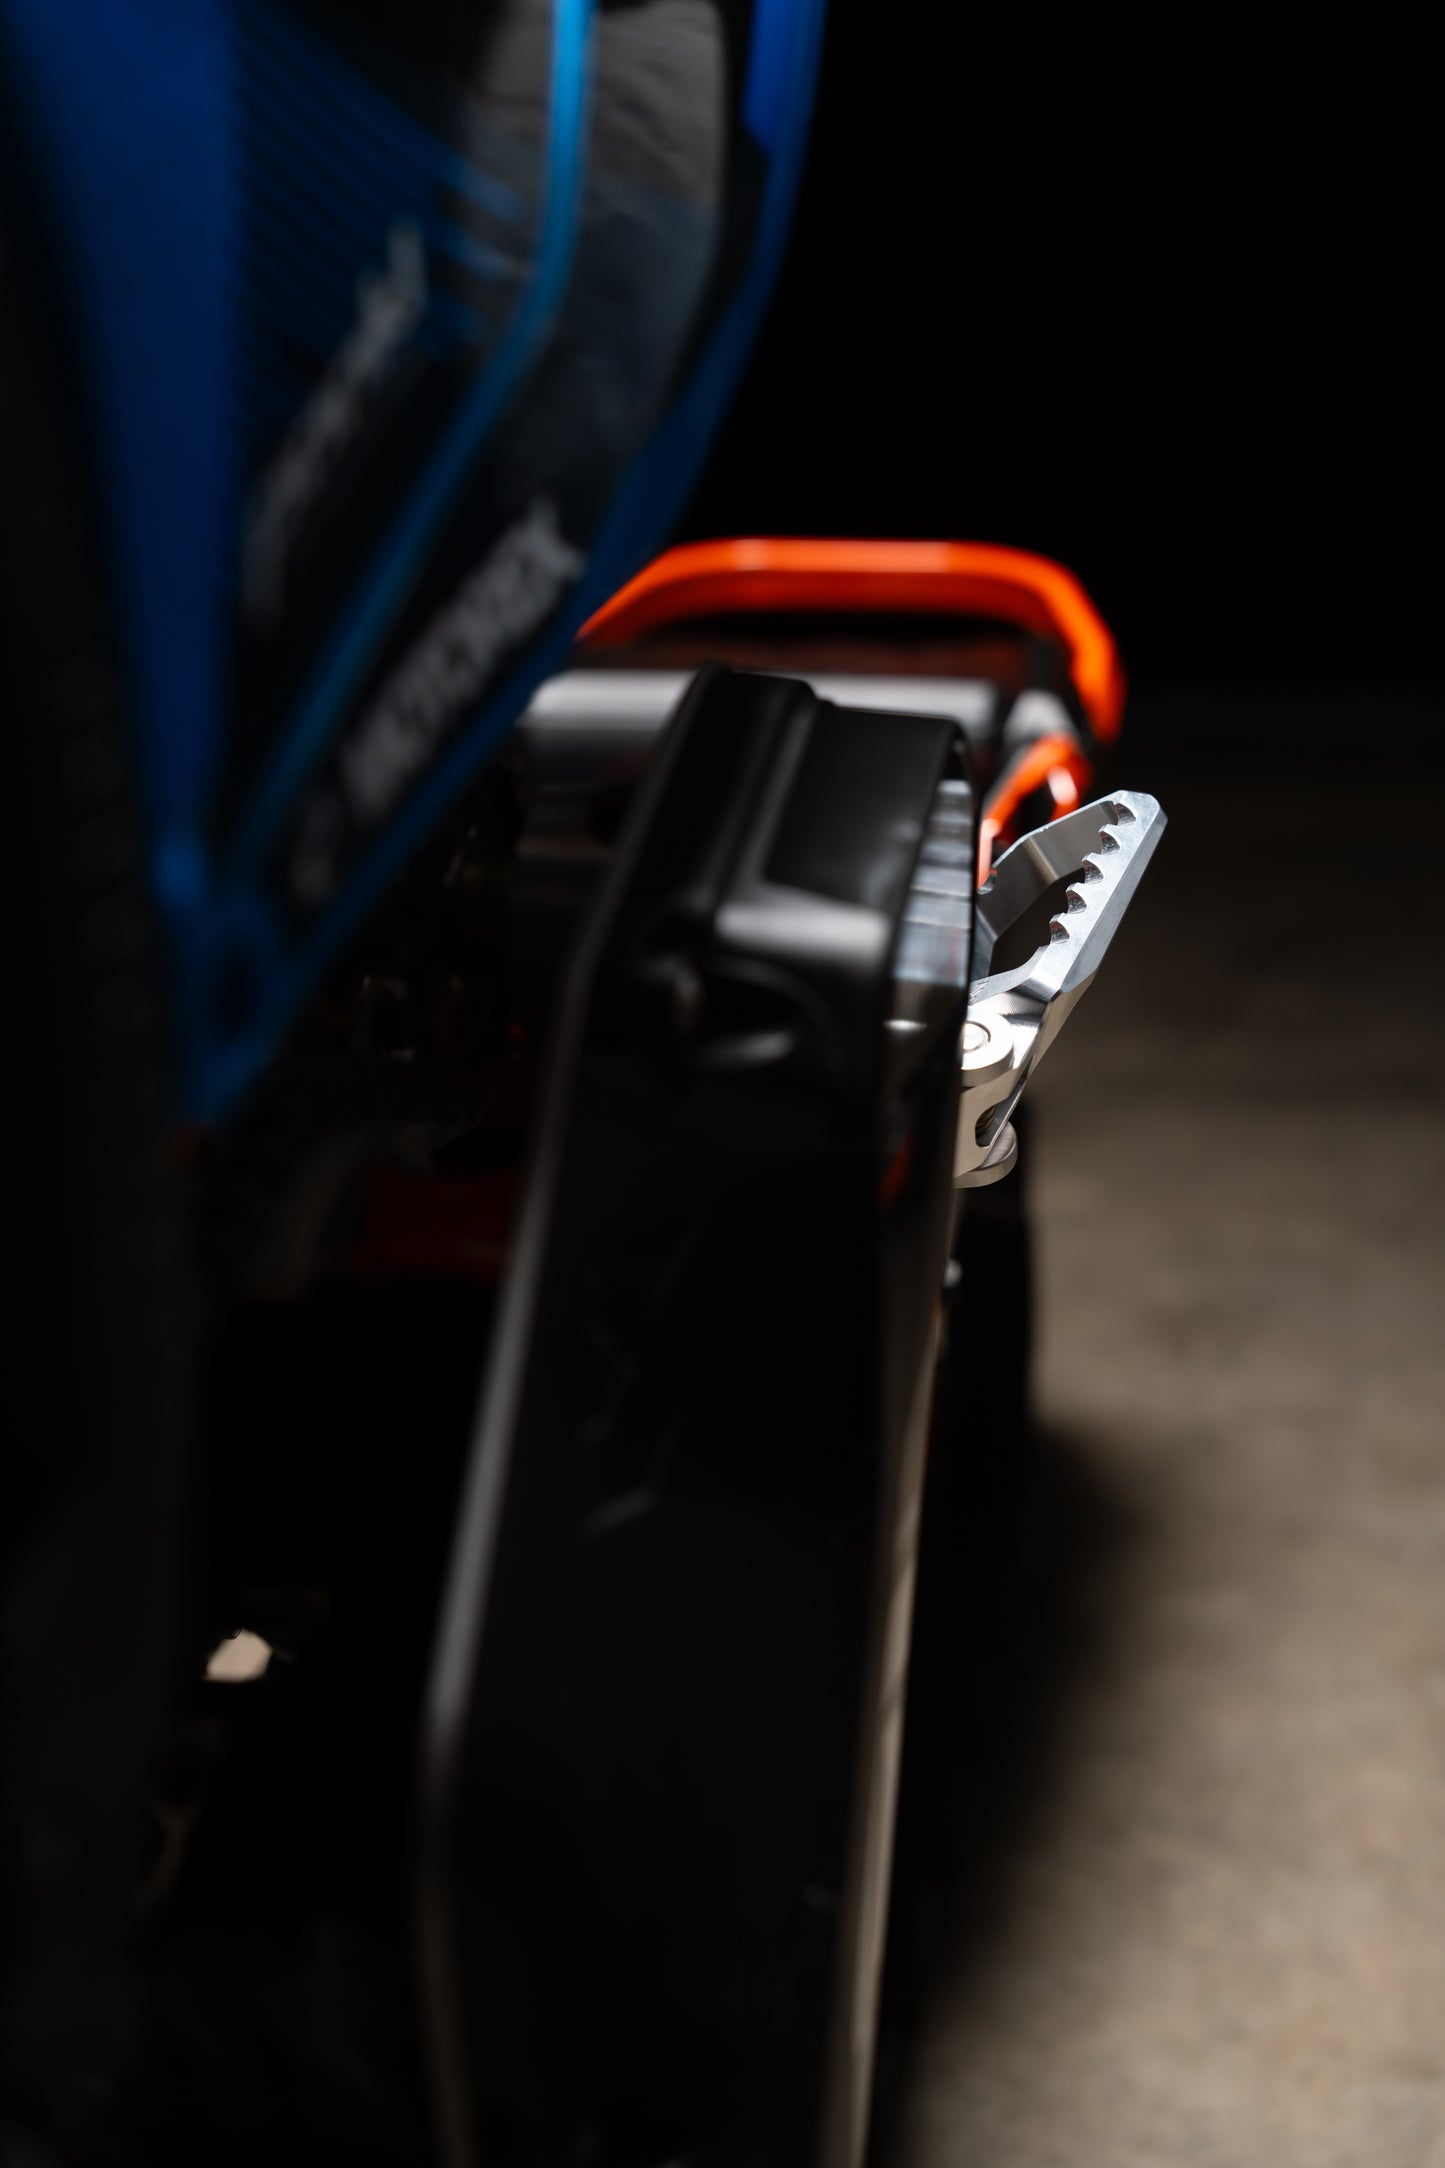
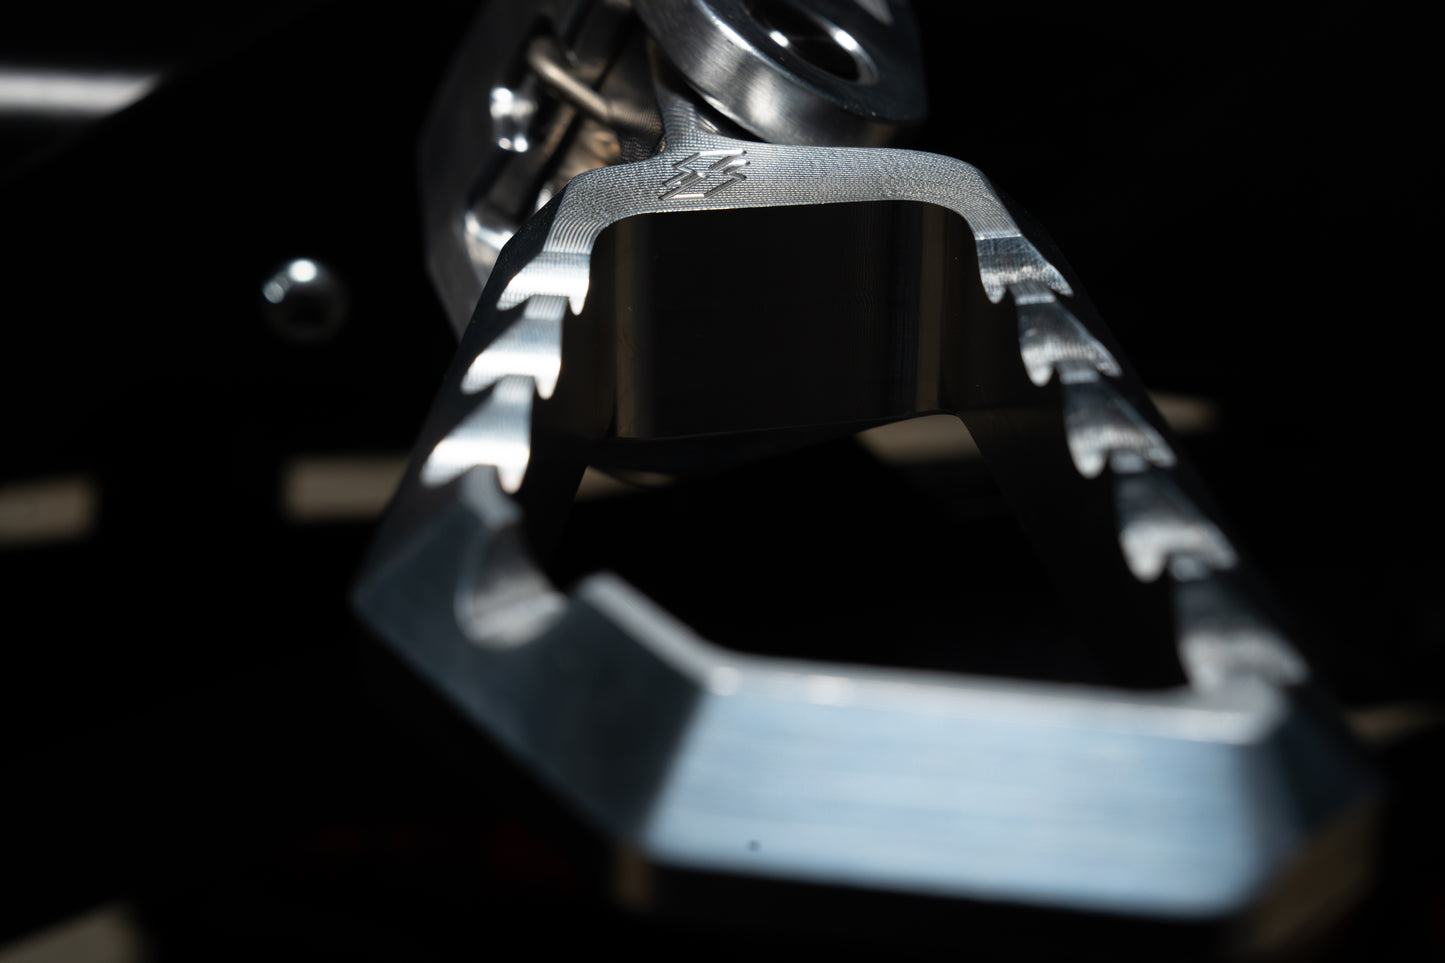
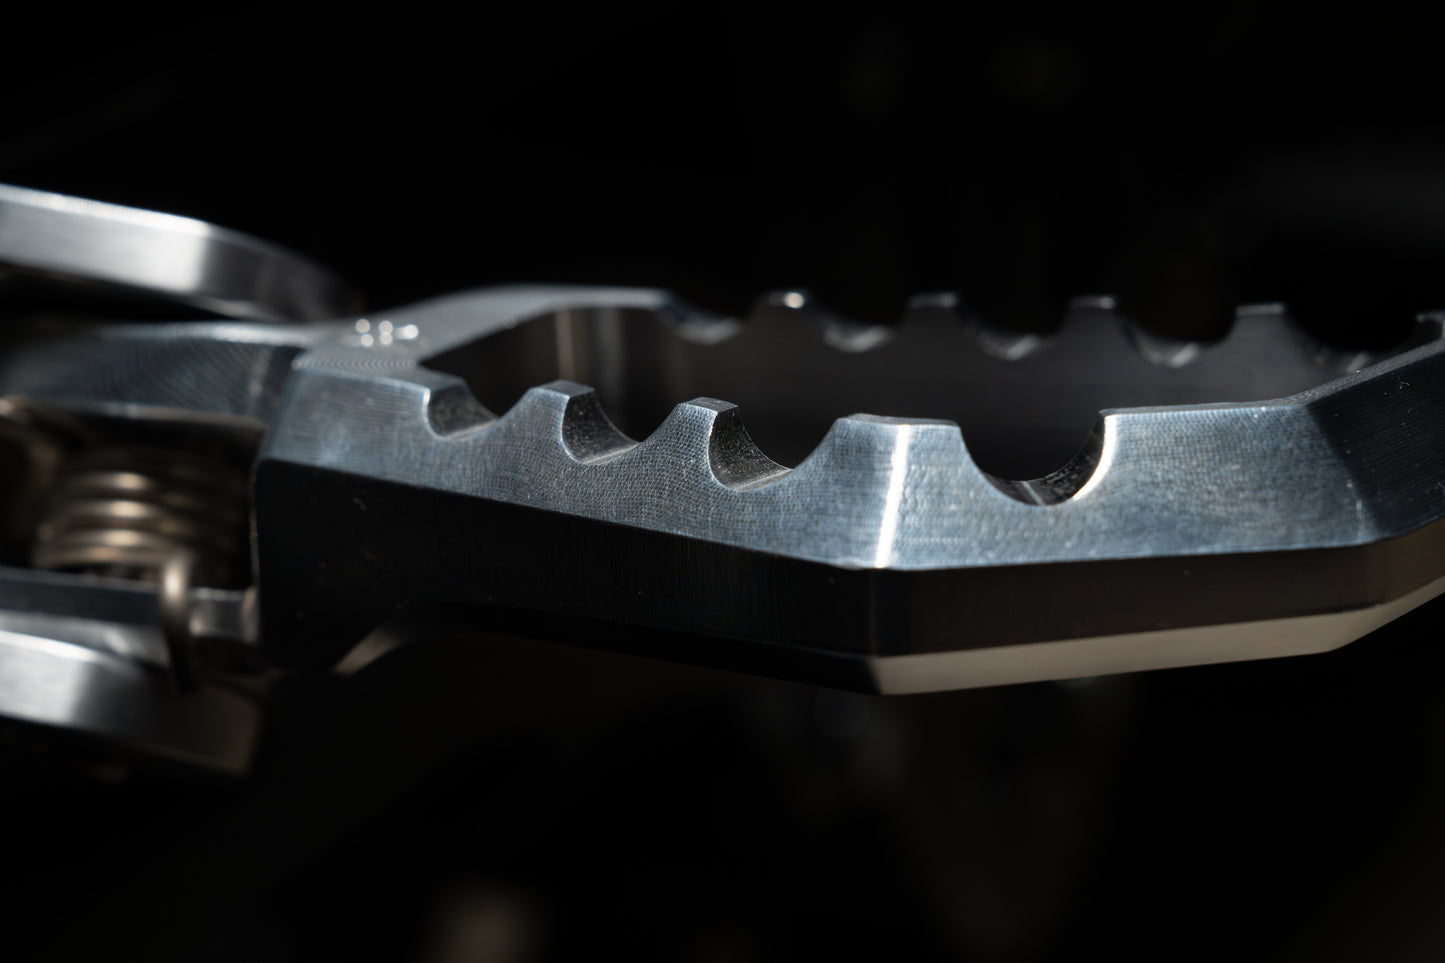
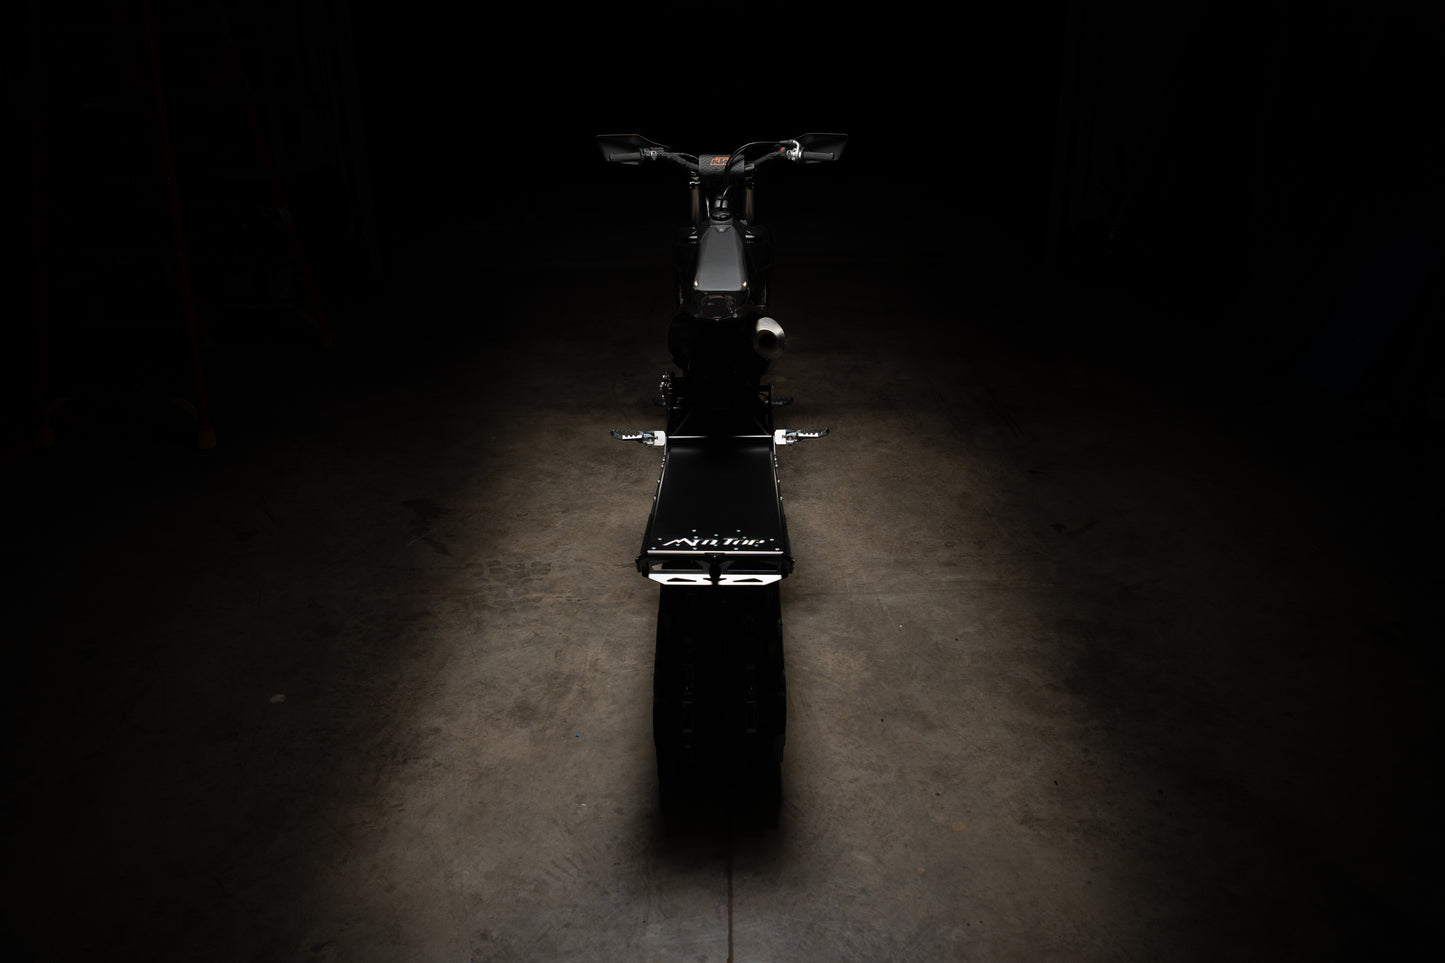
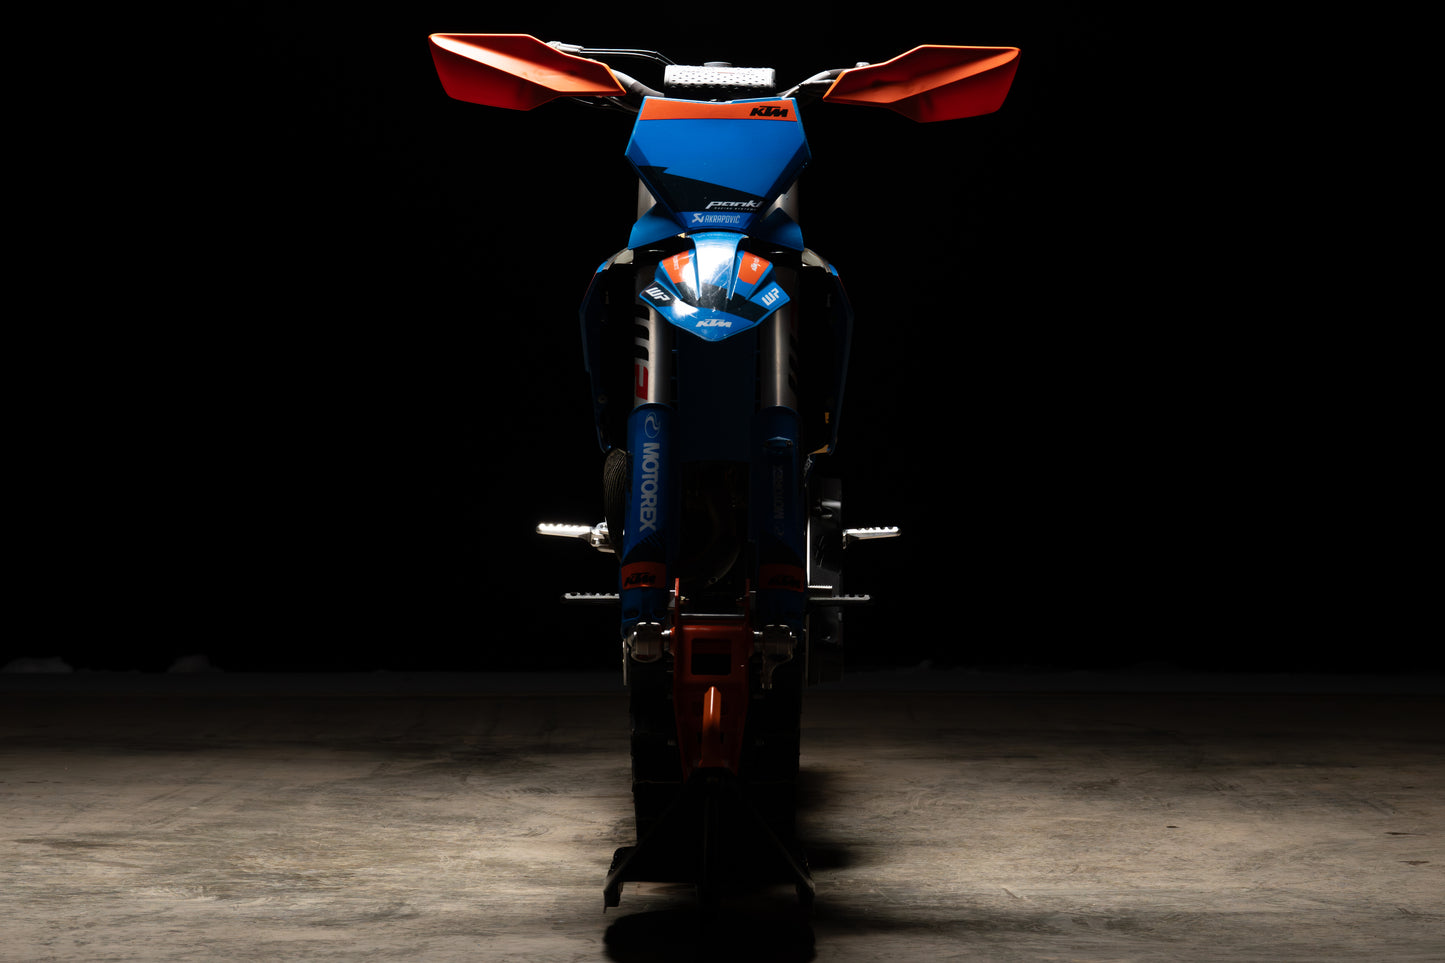
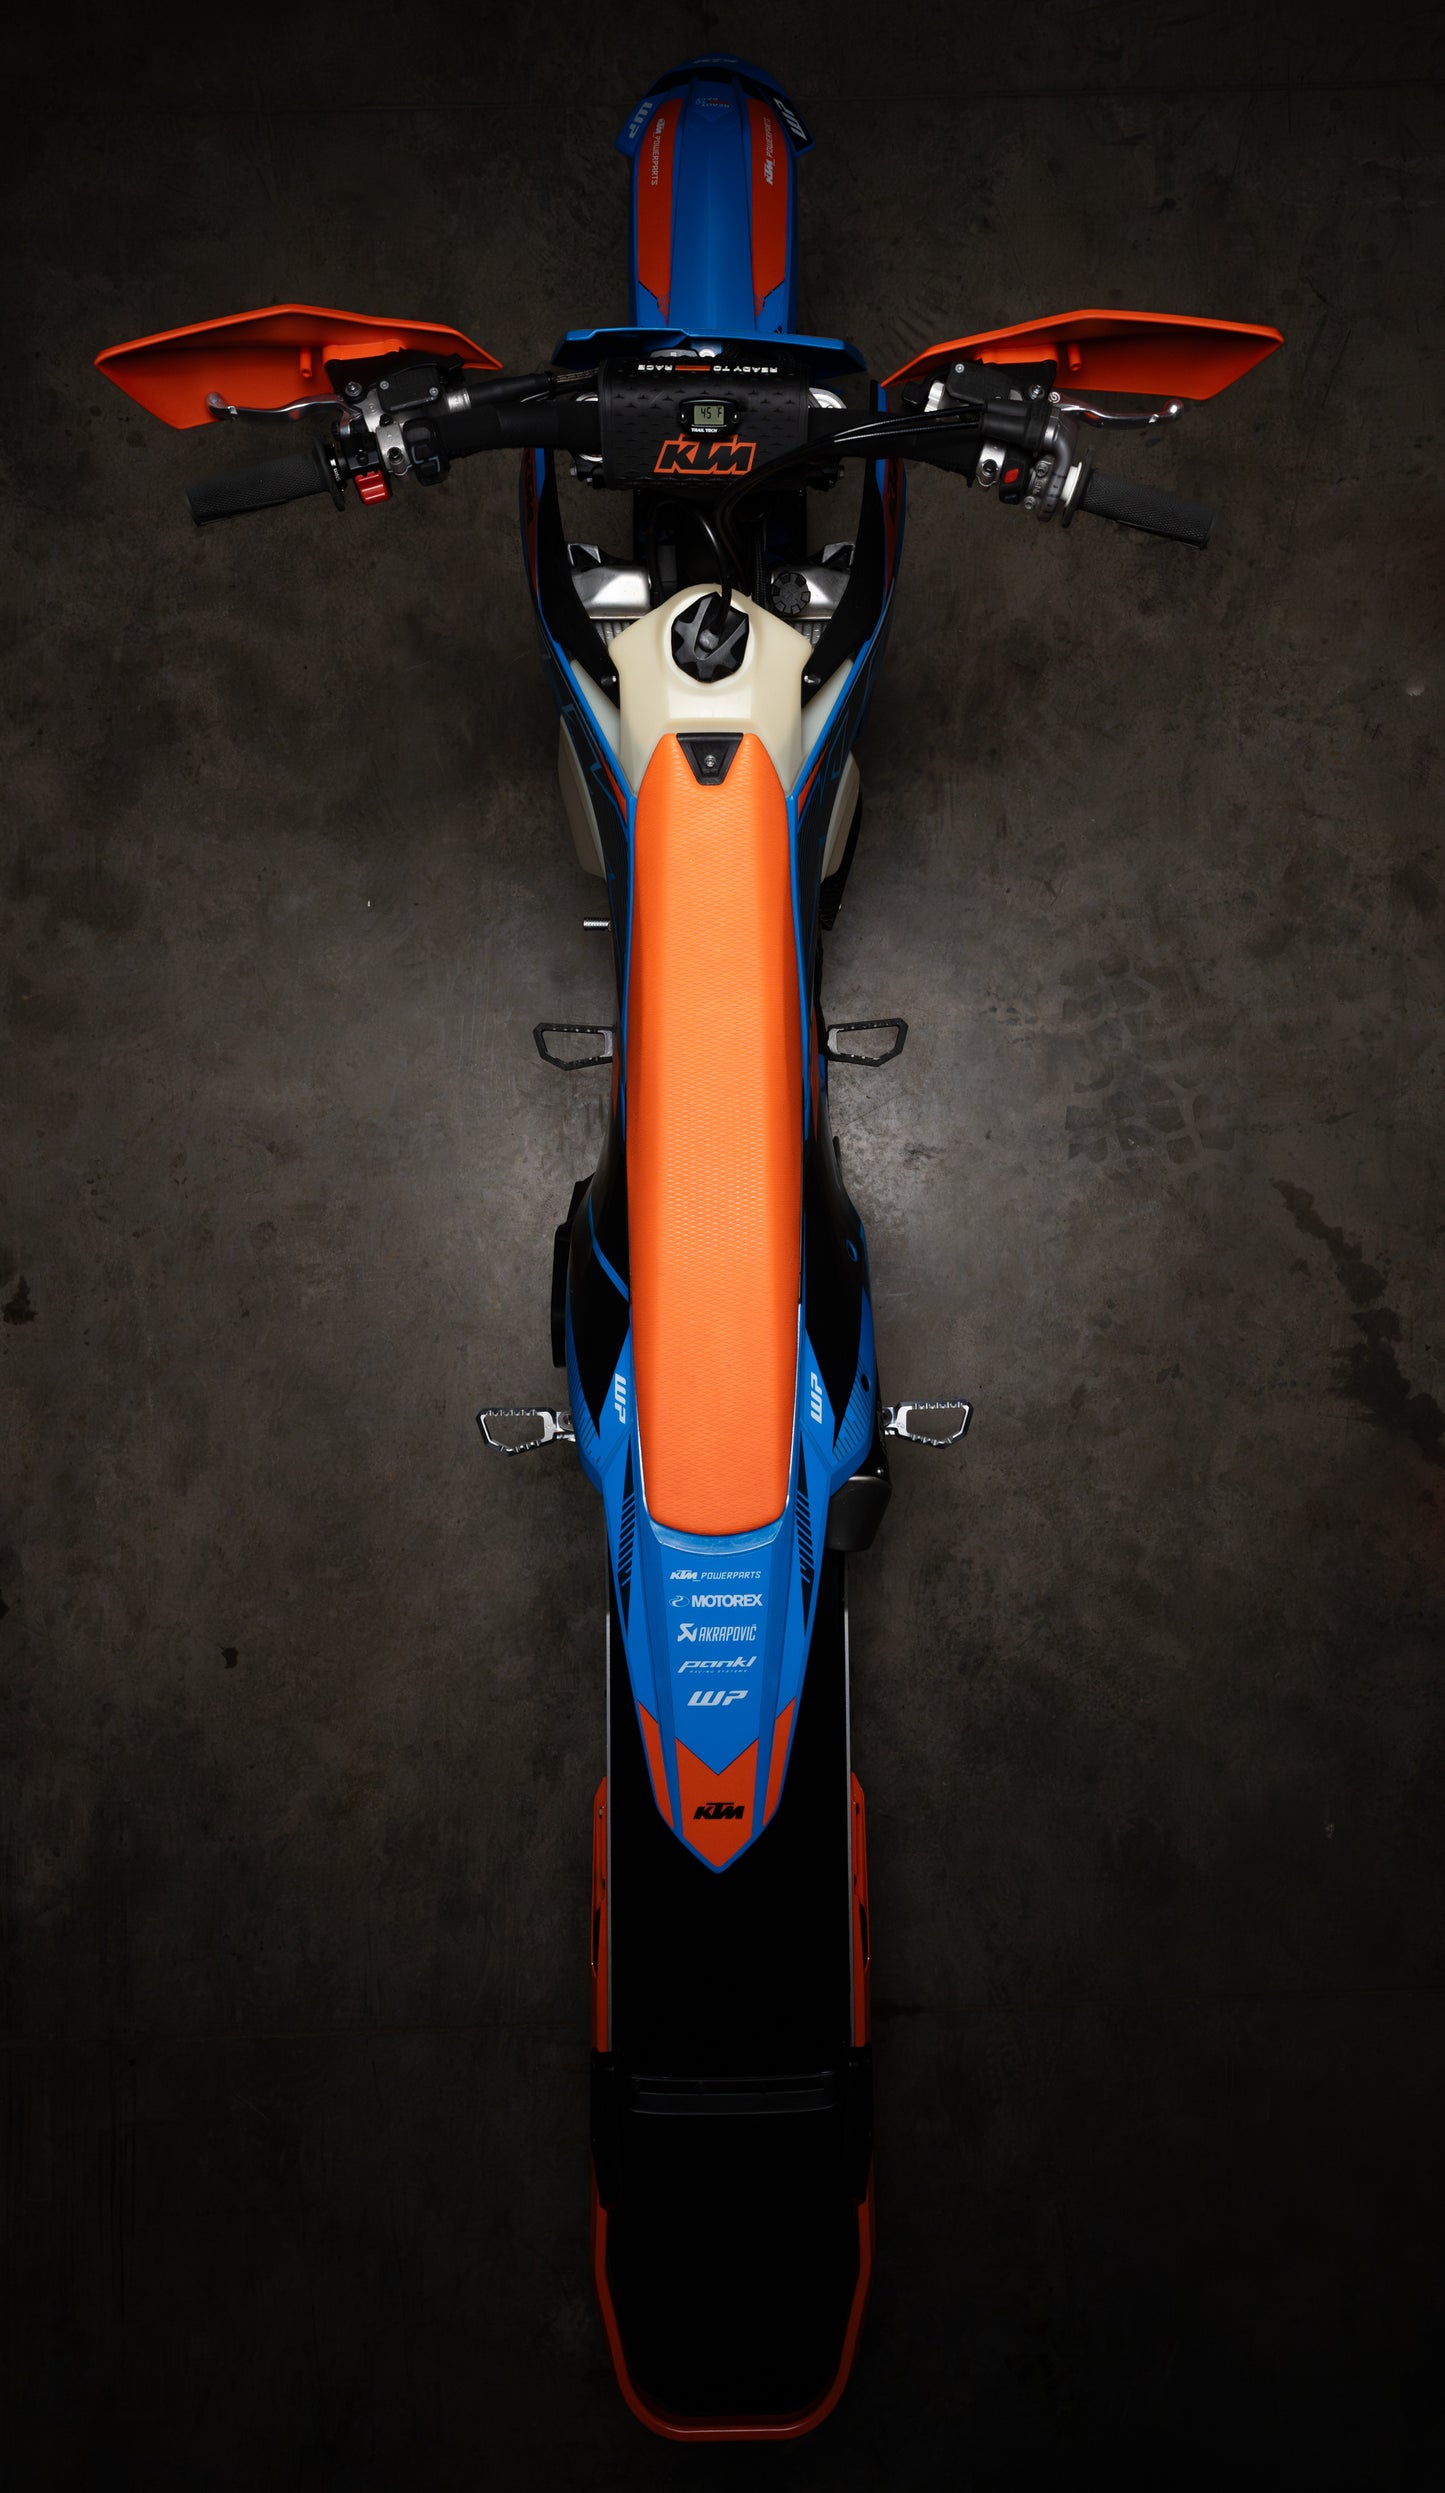
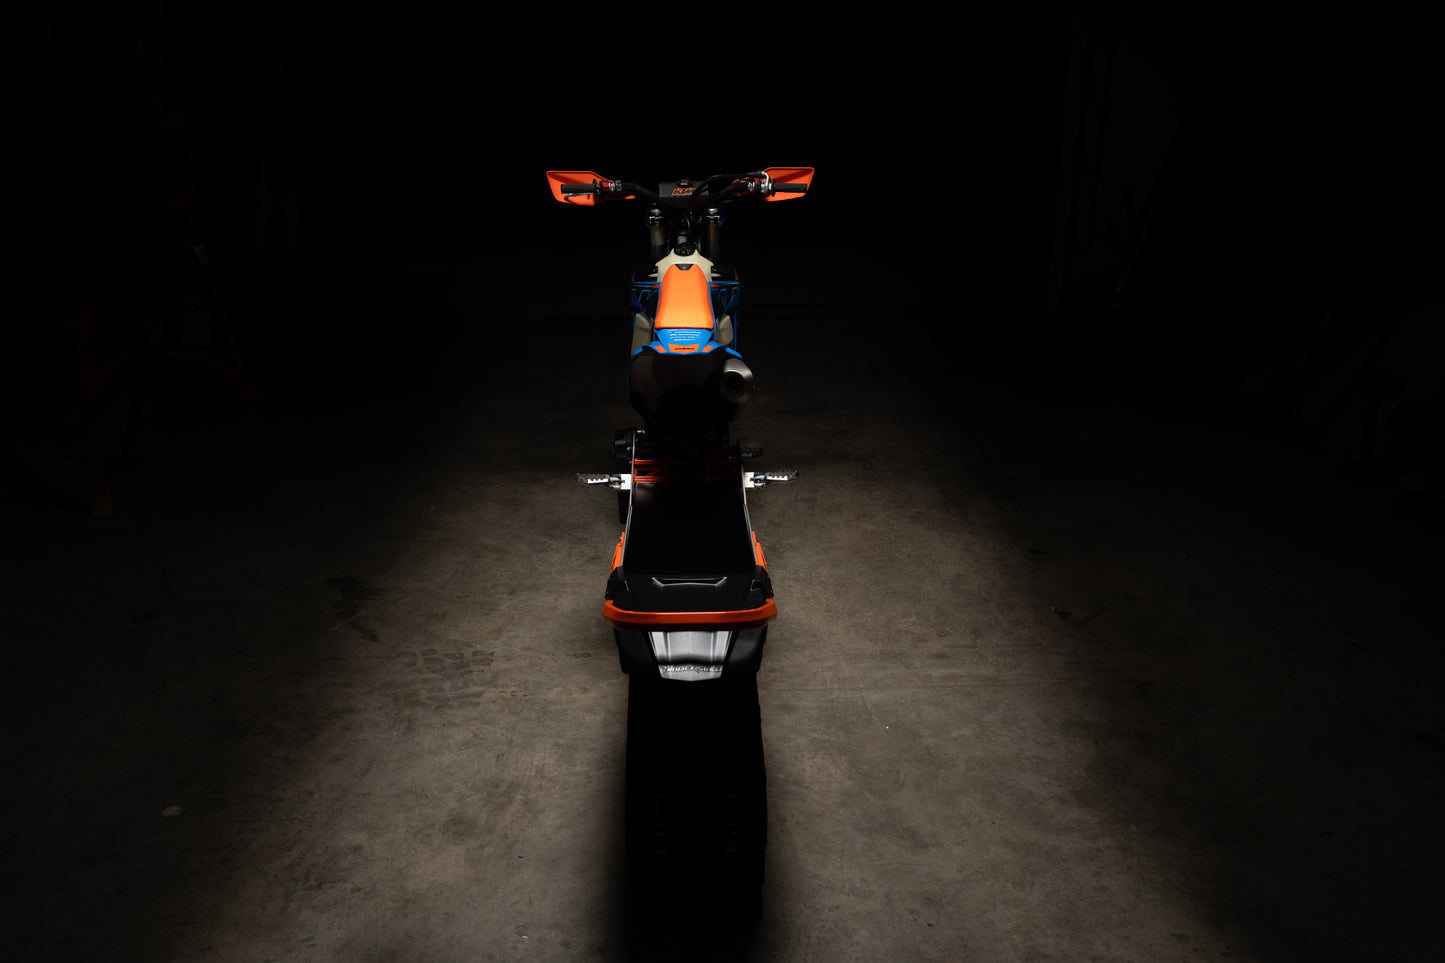
The keys to unlocking your snowbike. Easily the best performance mod you can make to your snowbike. Better weight transfer for wheelies, climbing, and stuck situations.
SAVE $50 WHEN YOU BUY FORE-FRONT & FALL-LINE FOOTPEGS TOGETHER
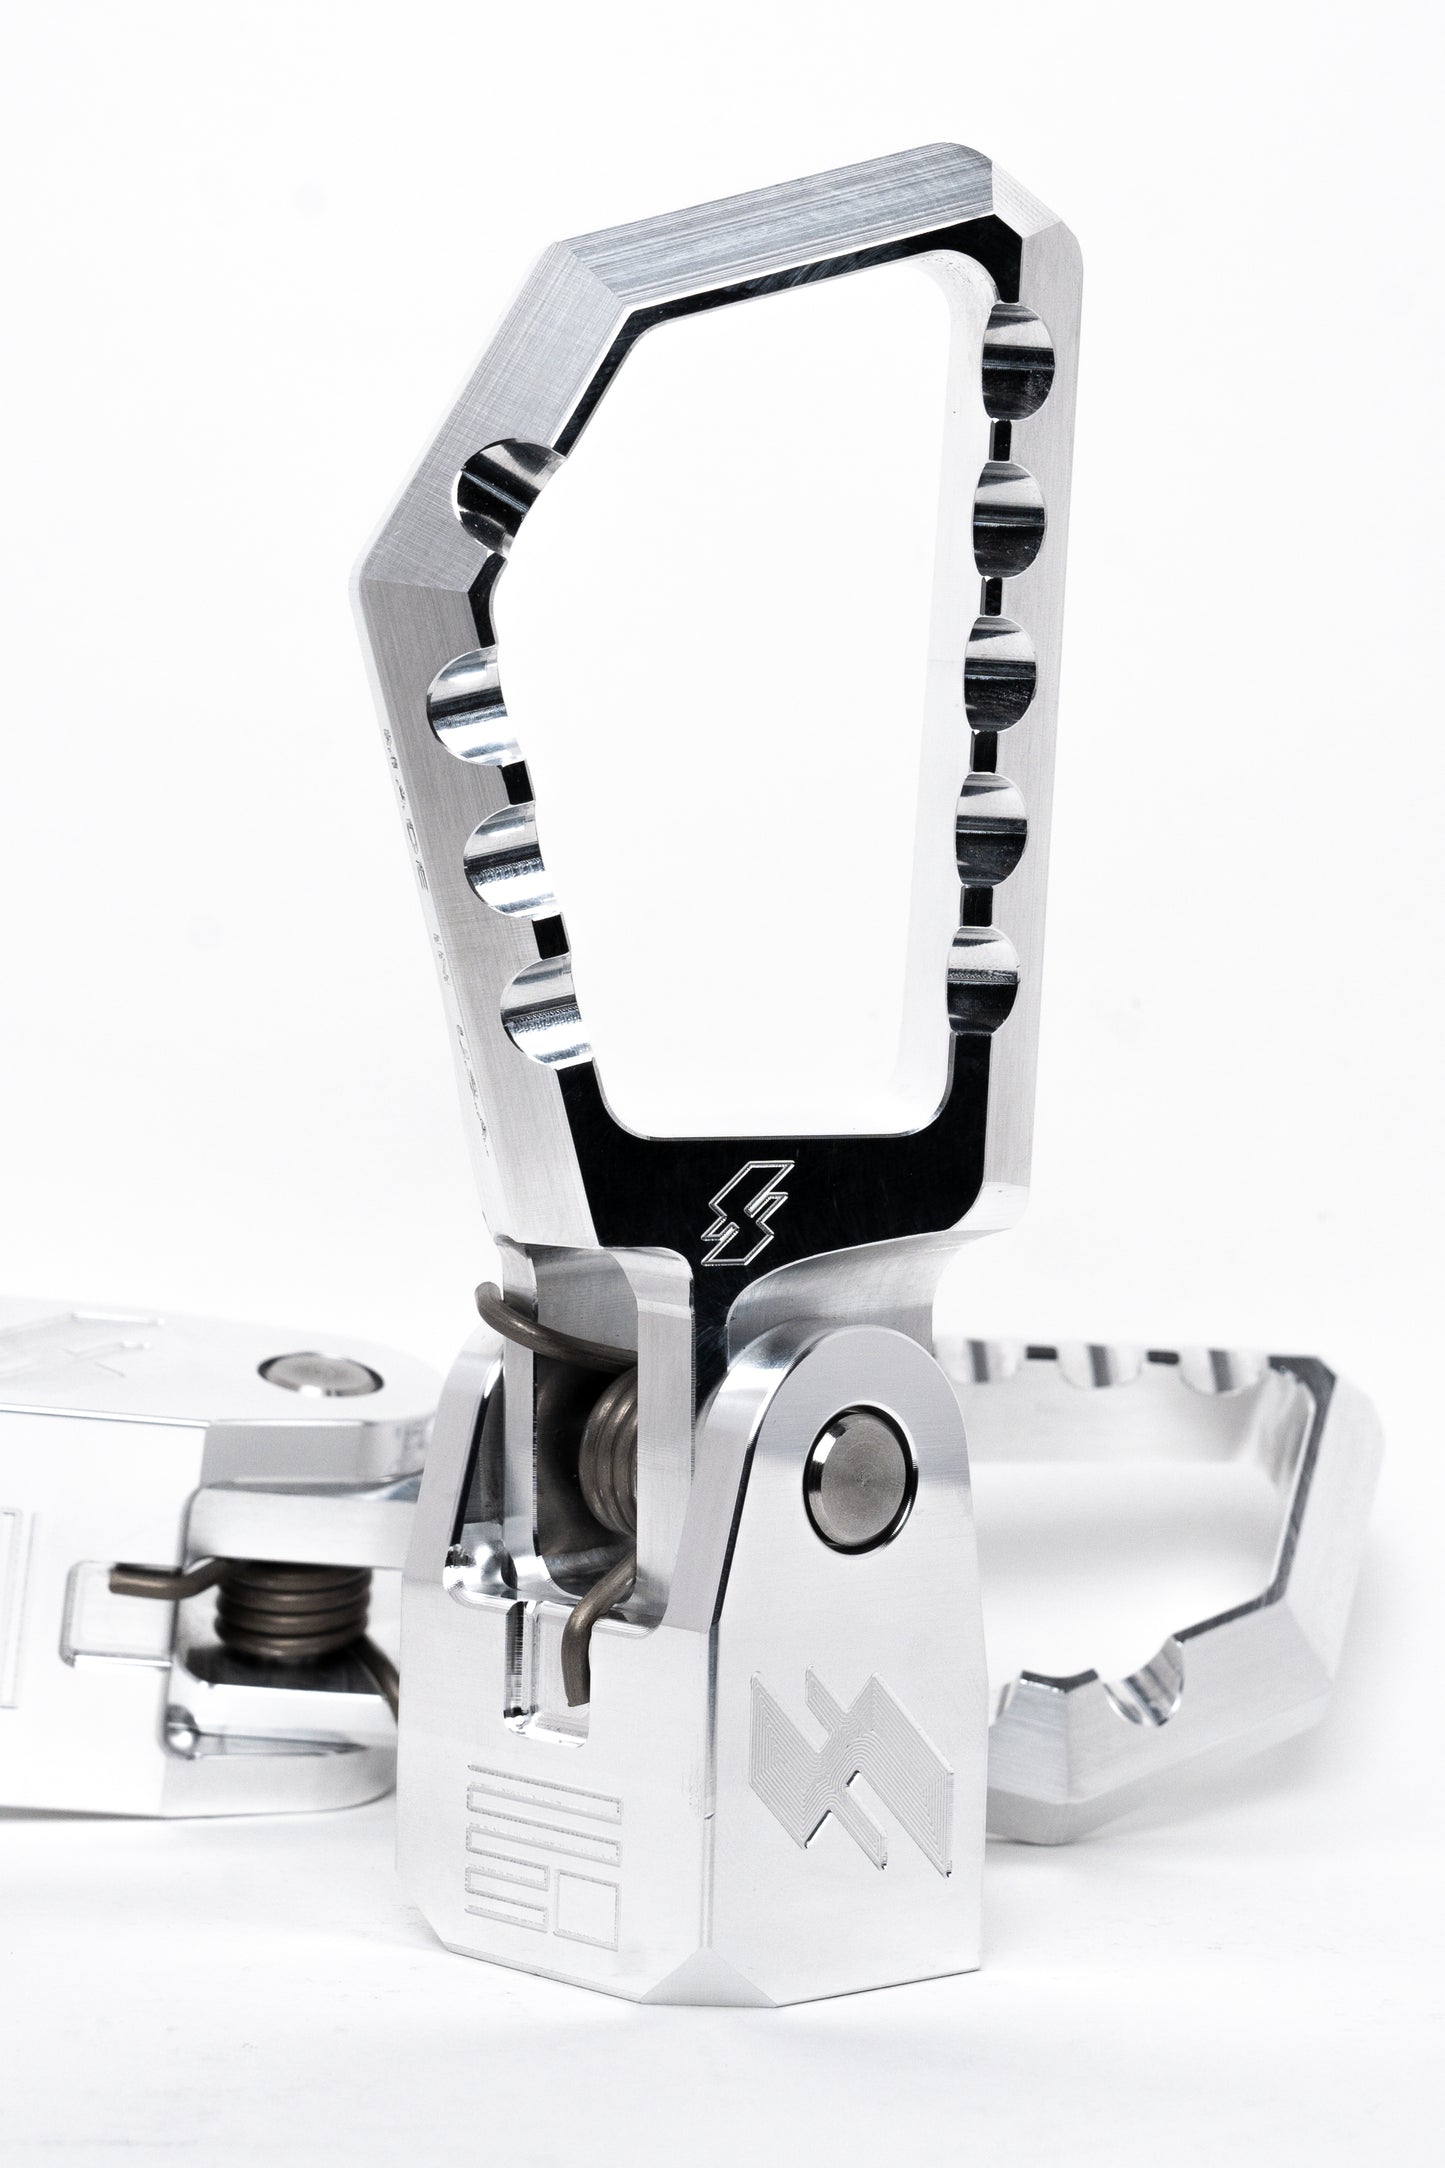
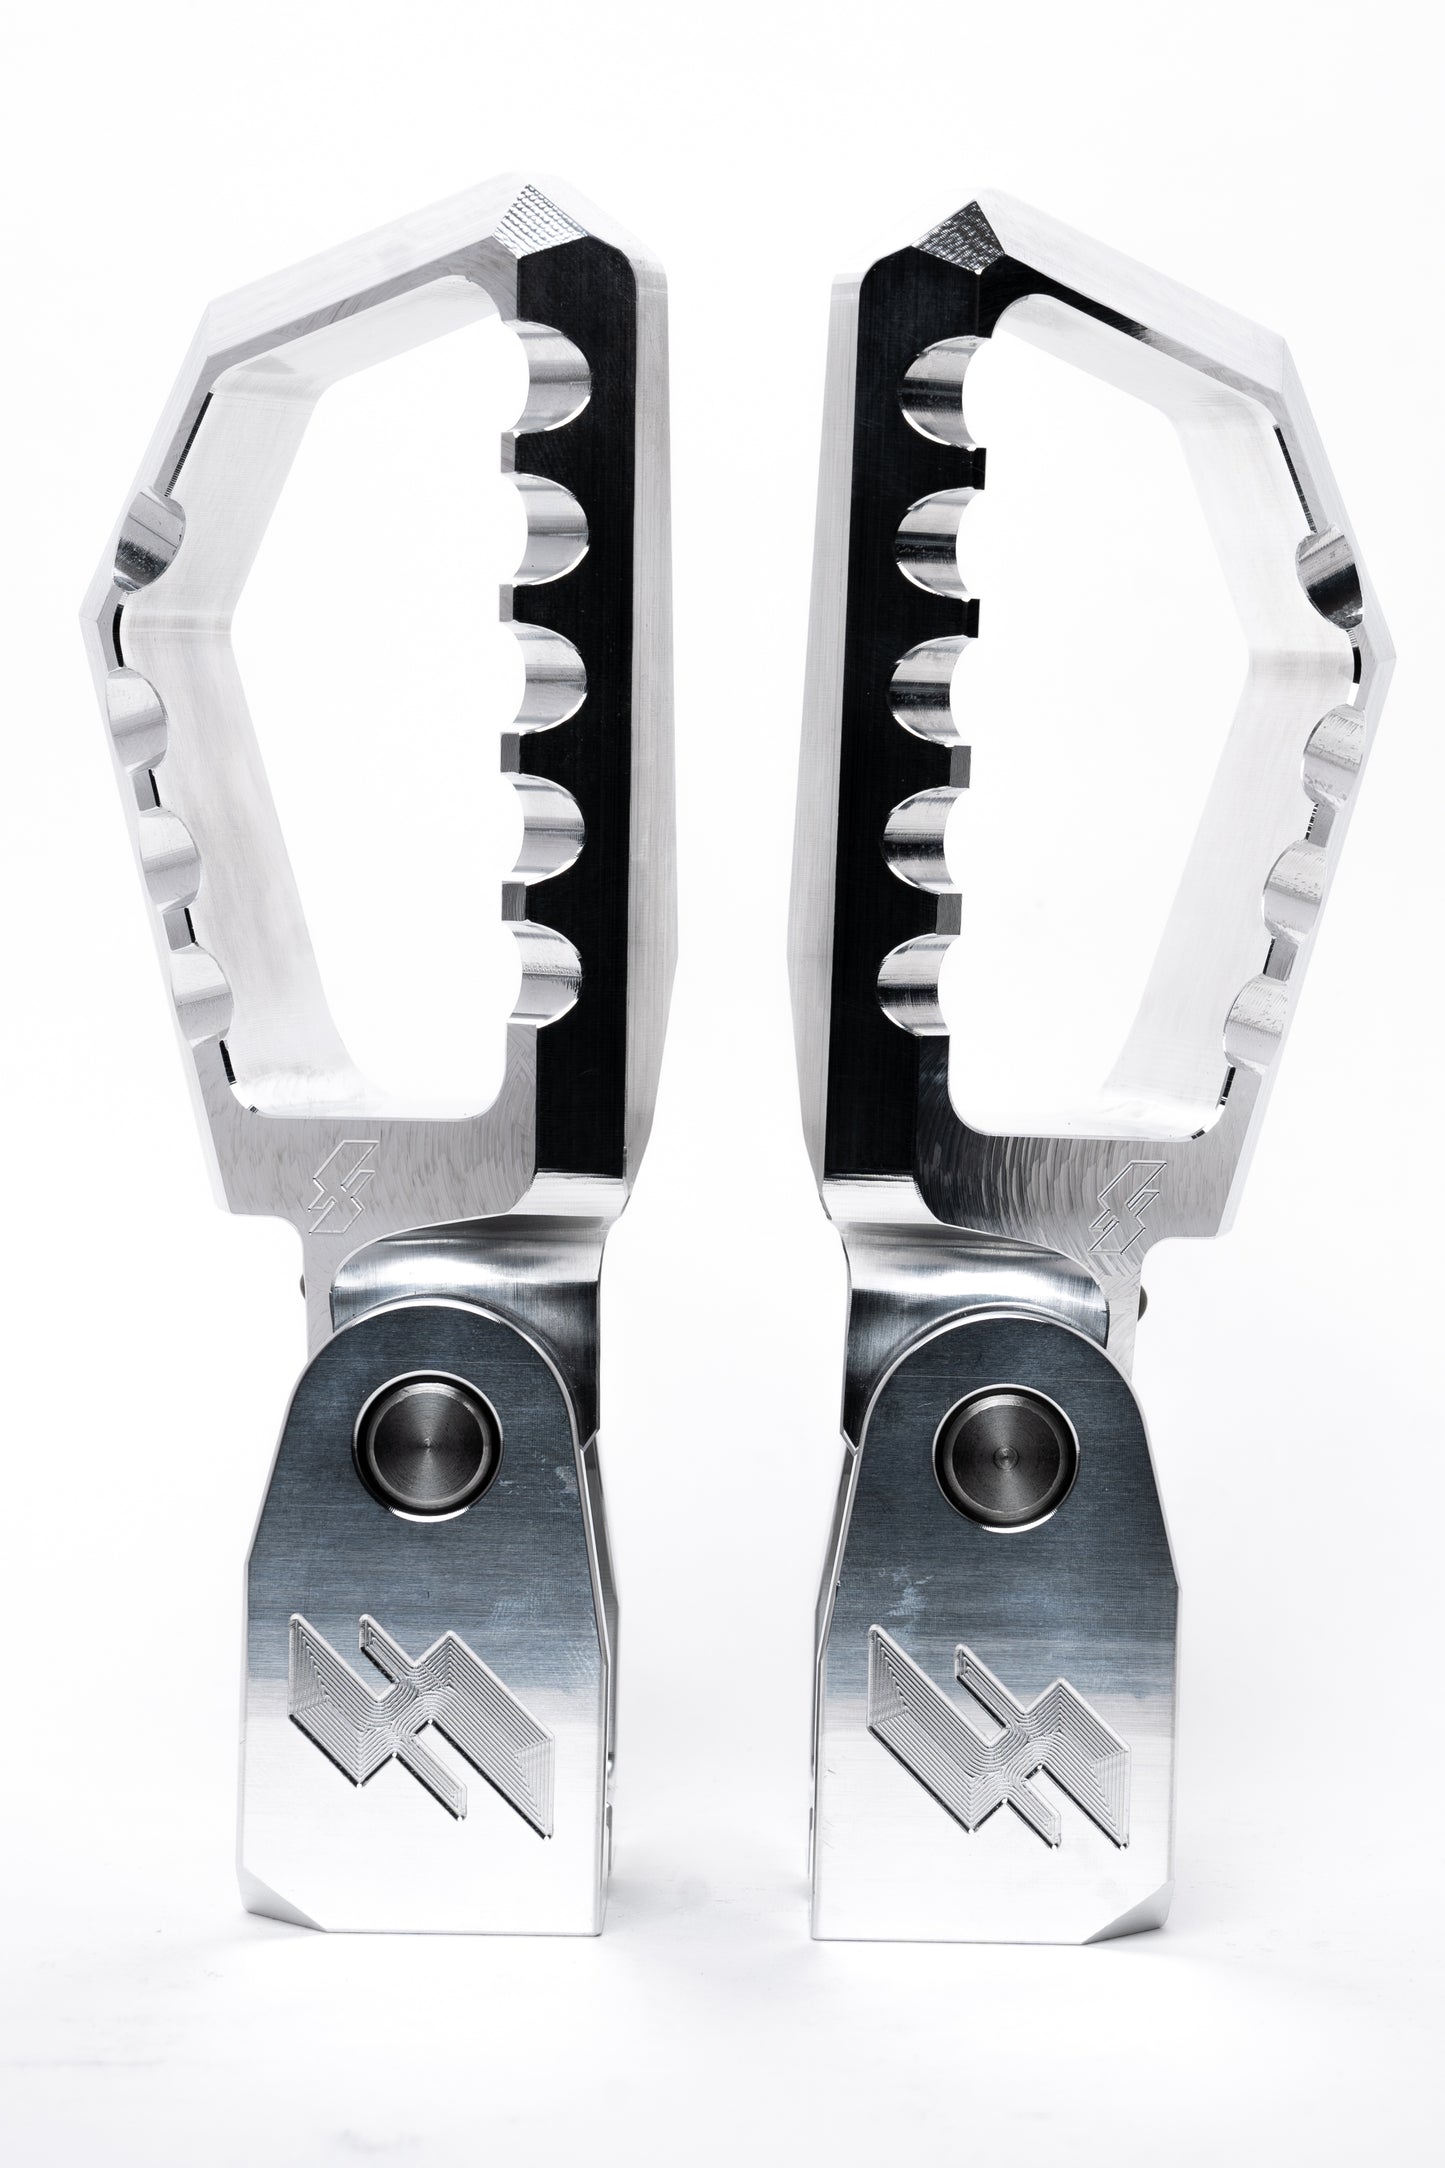
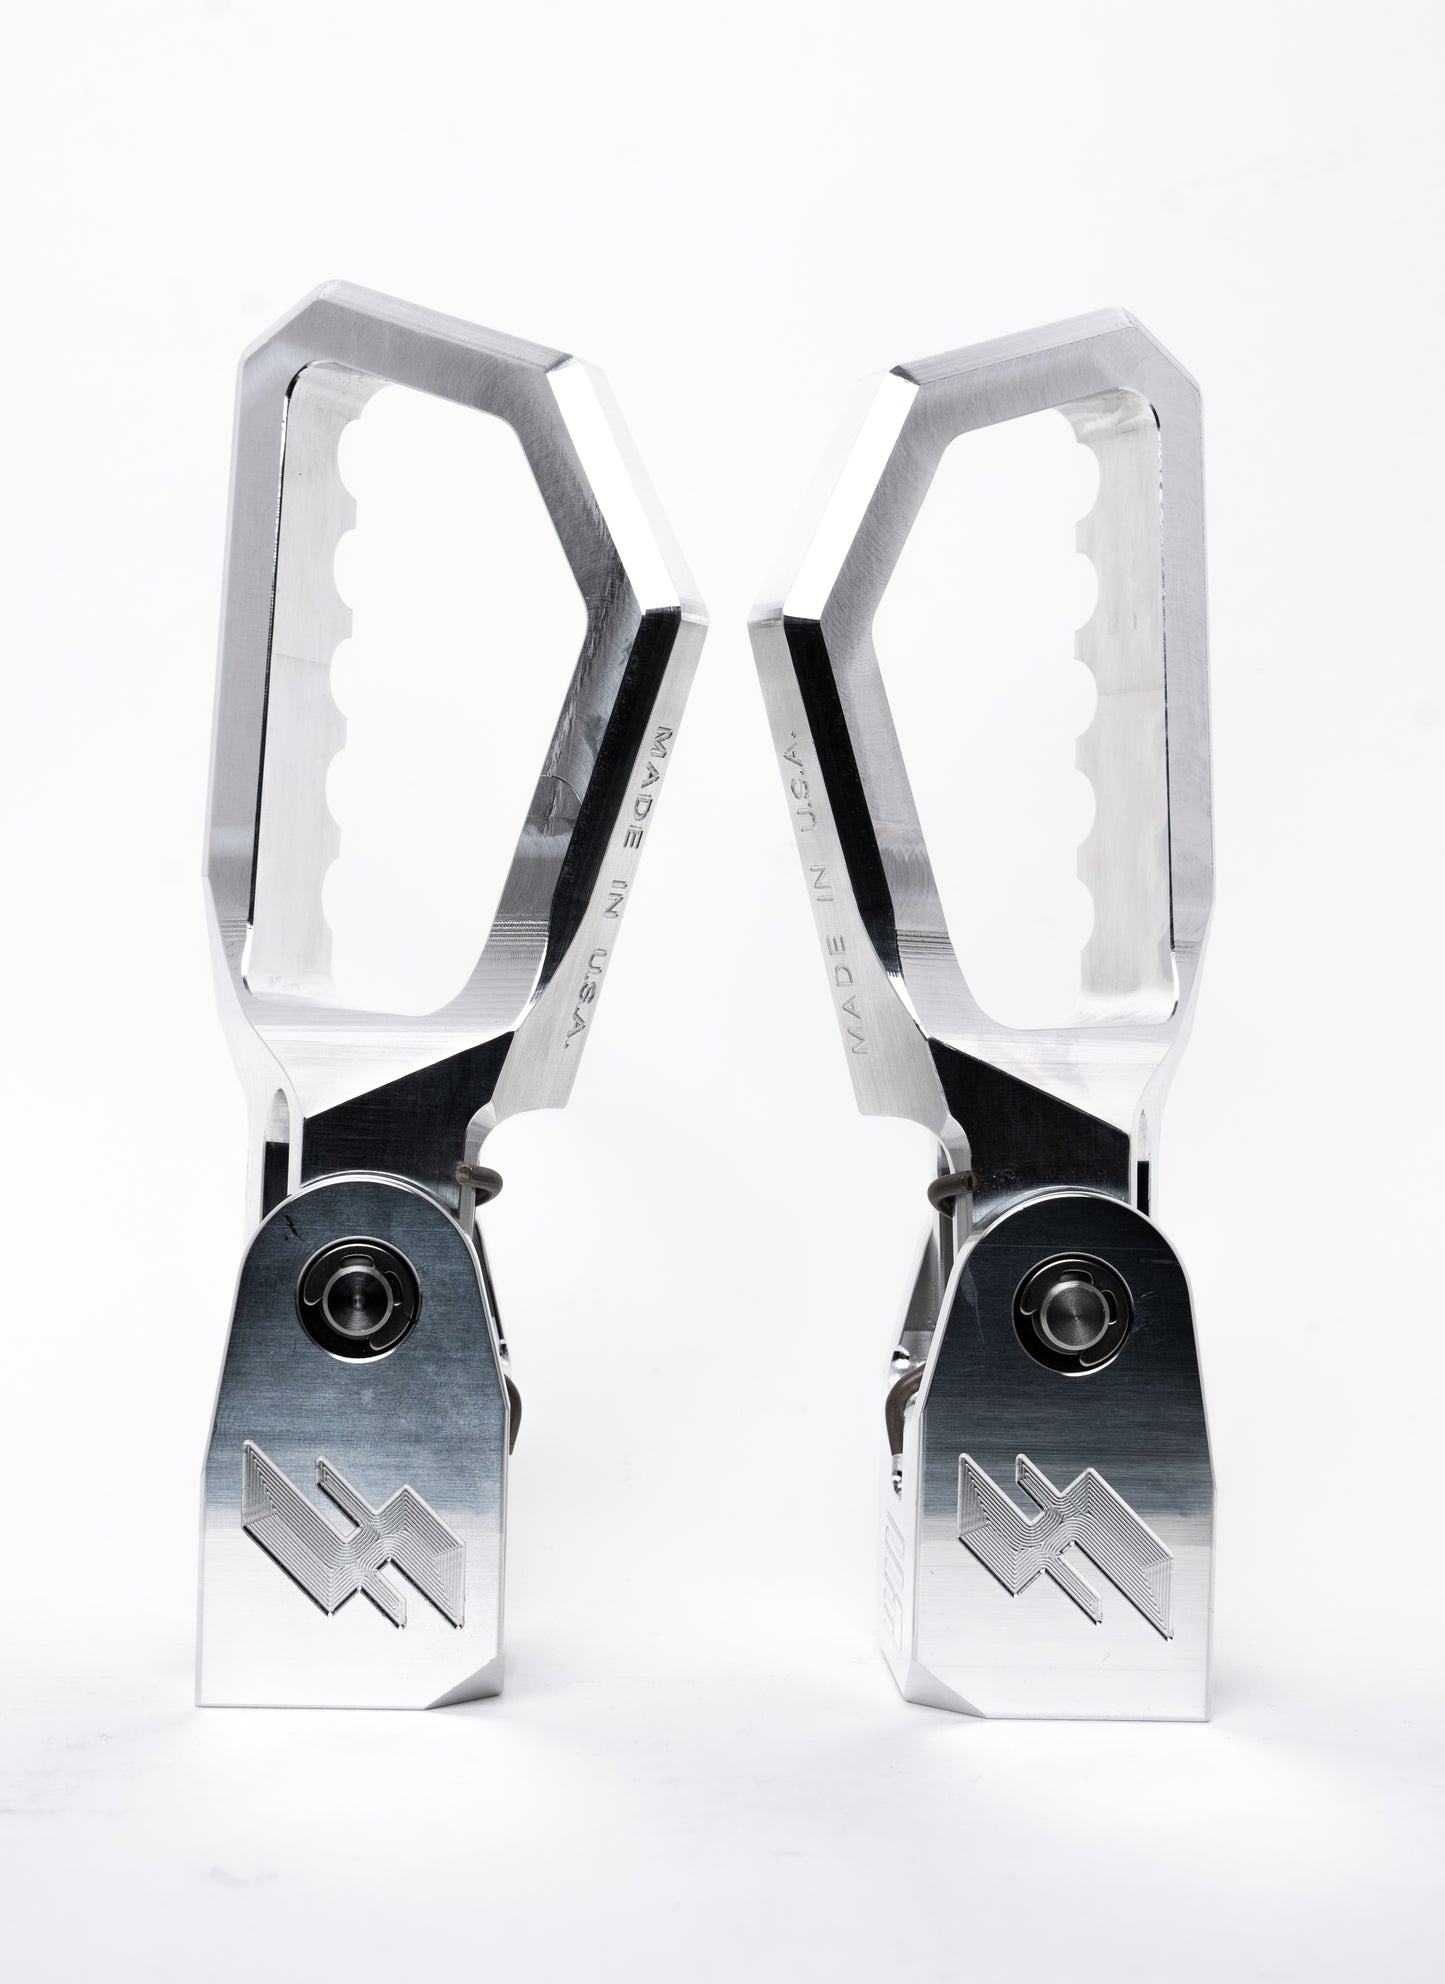
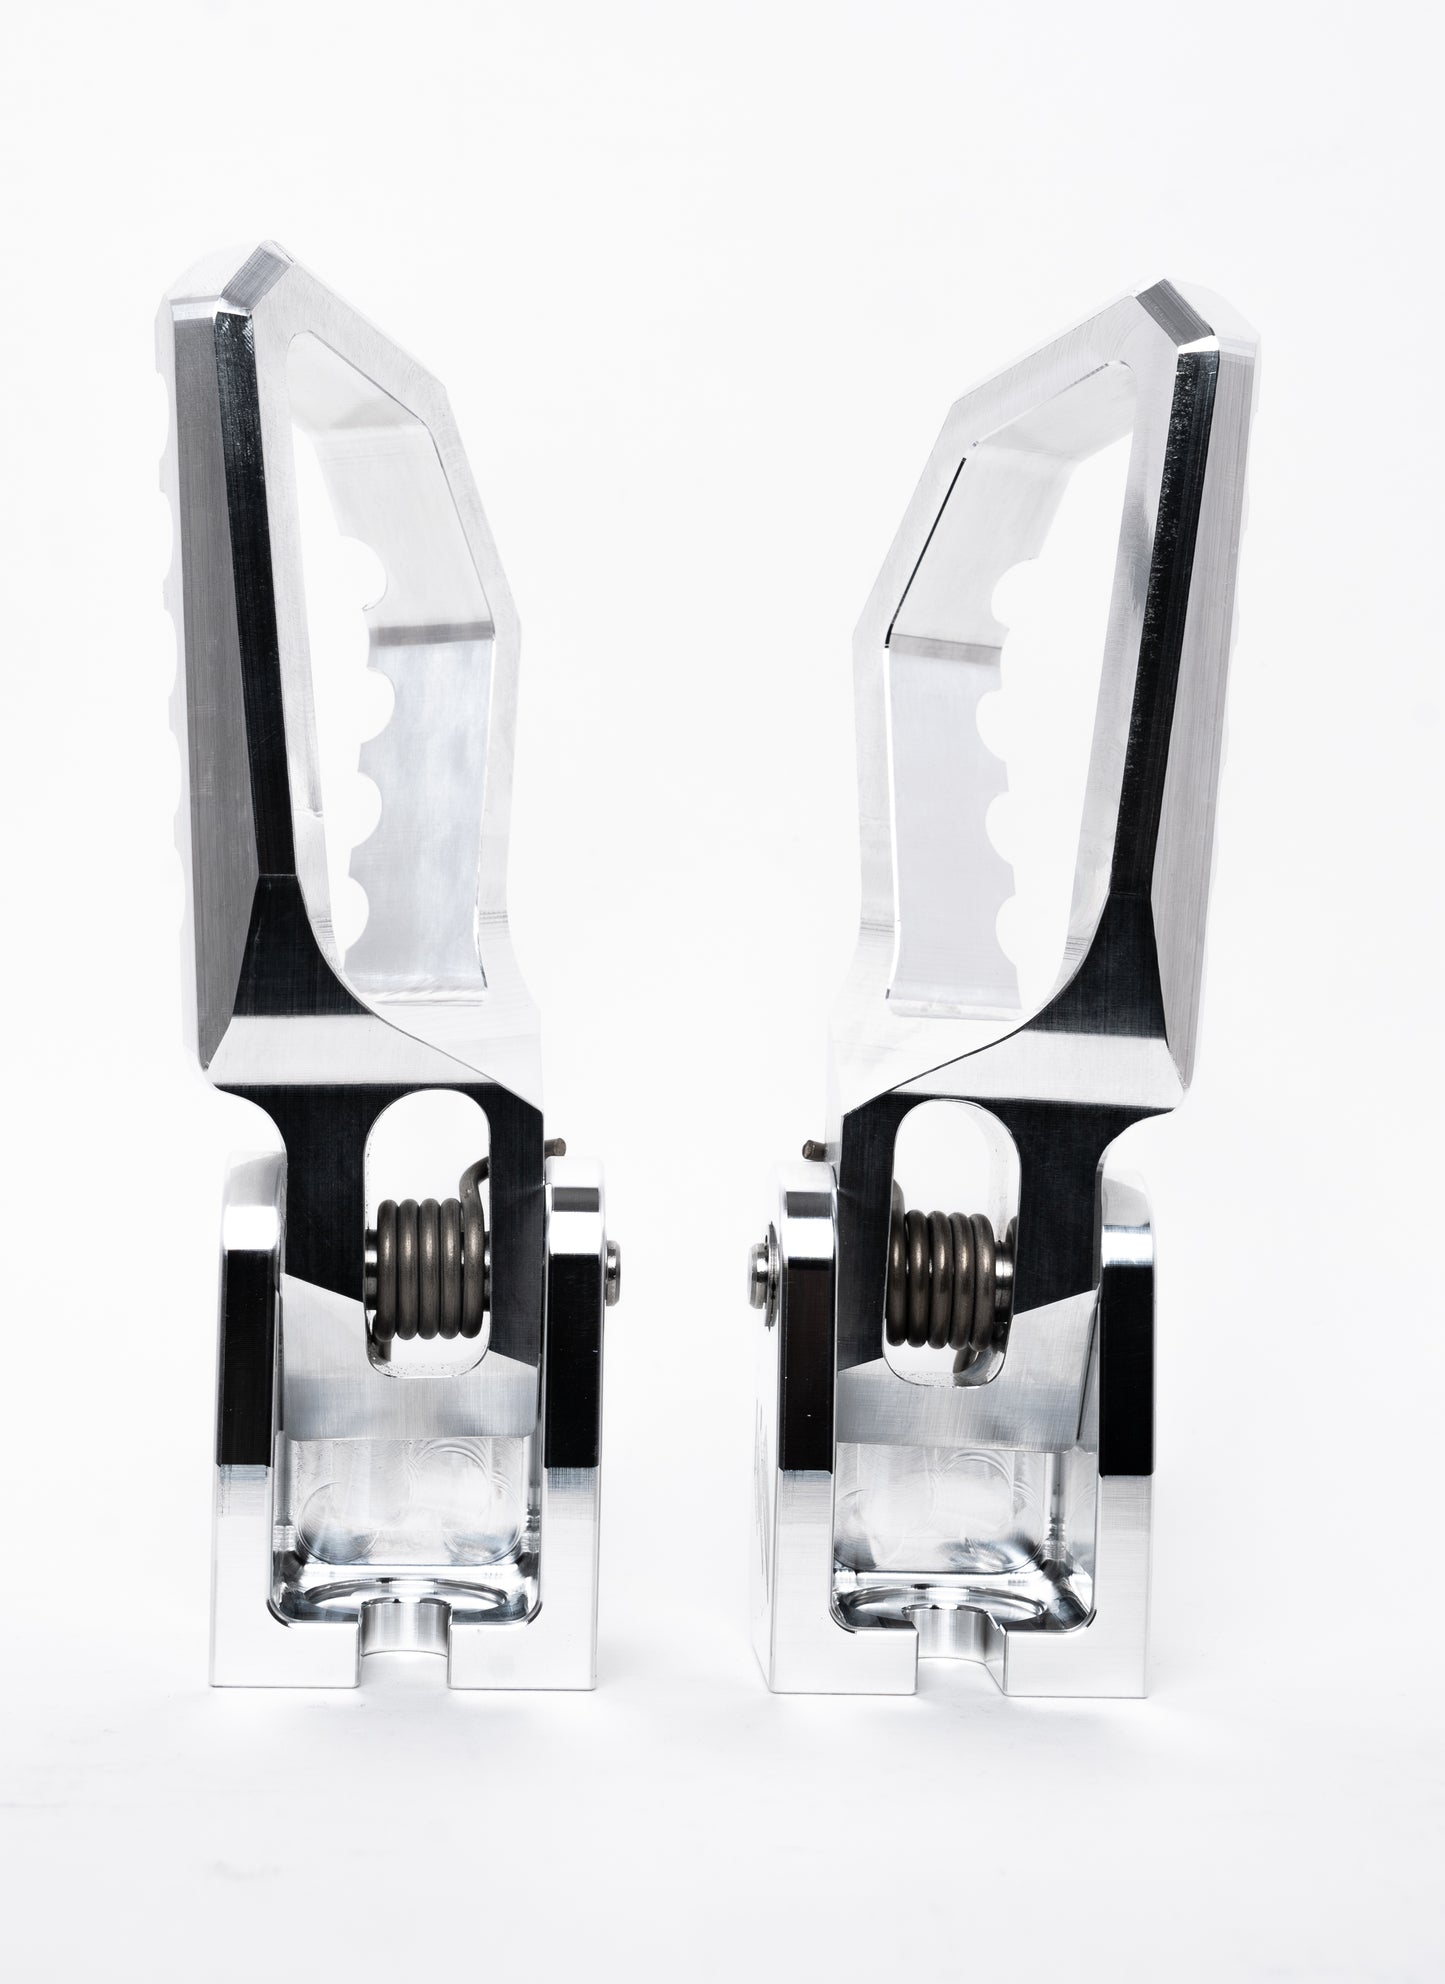
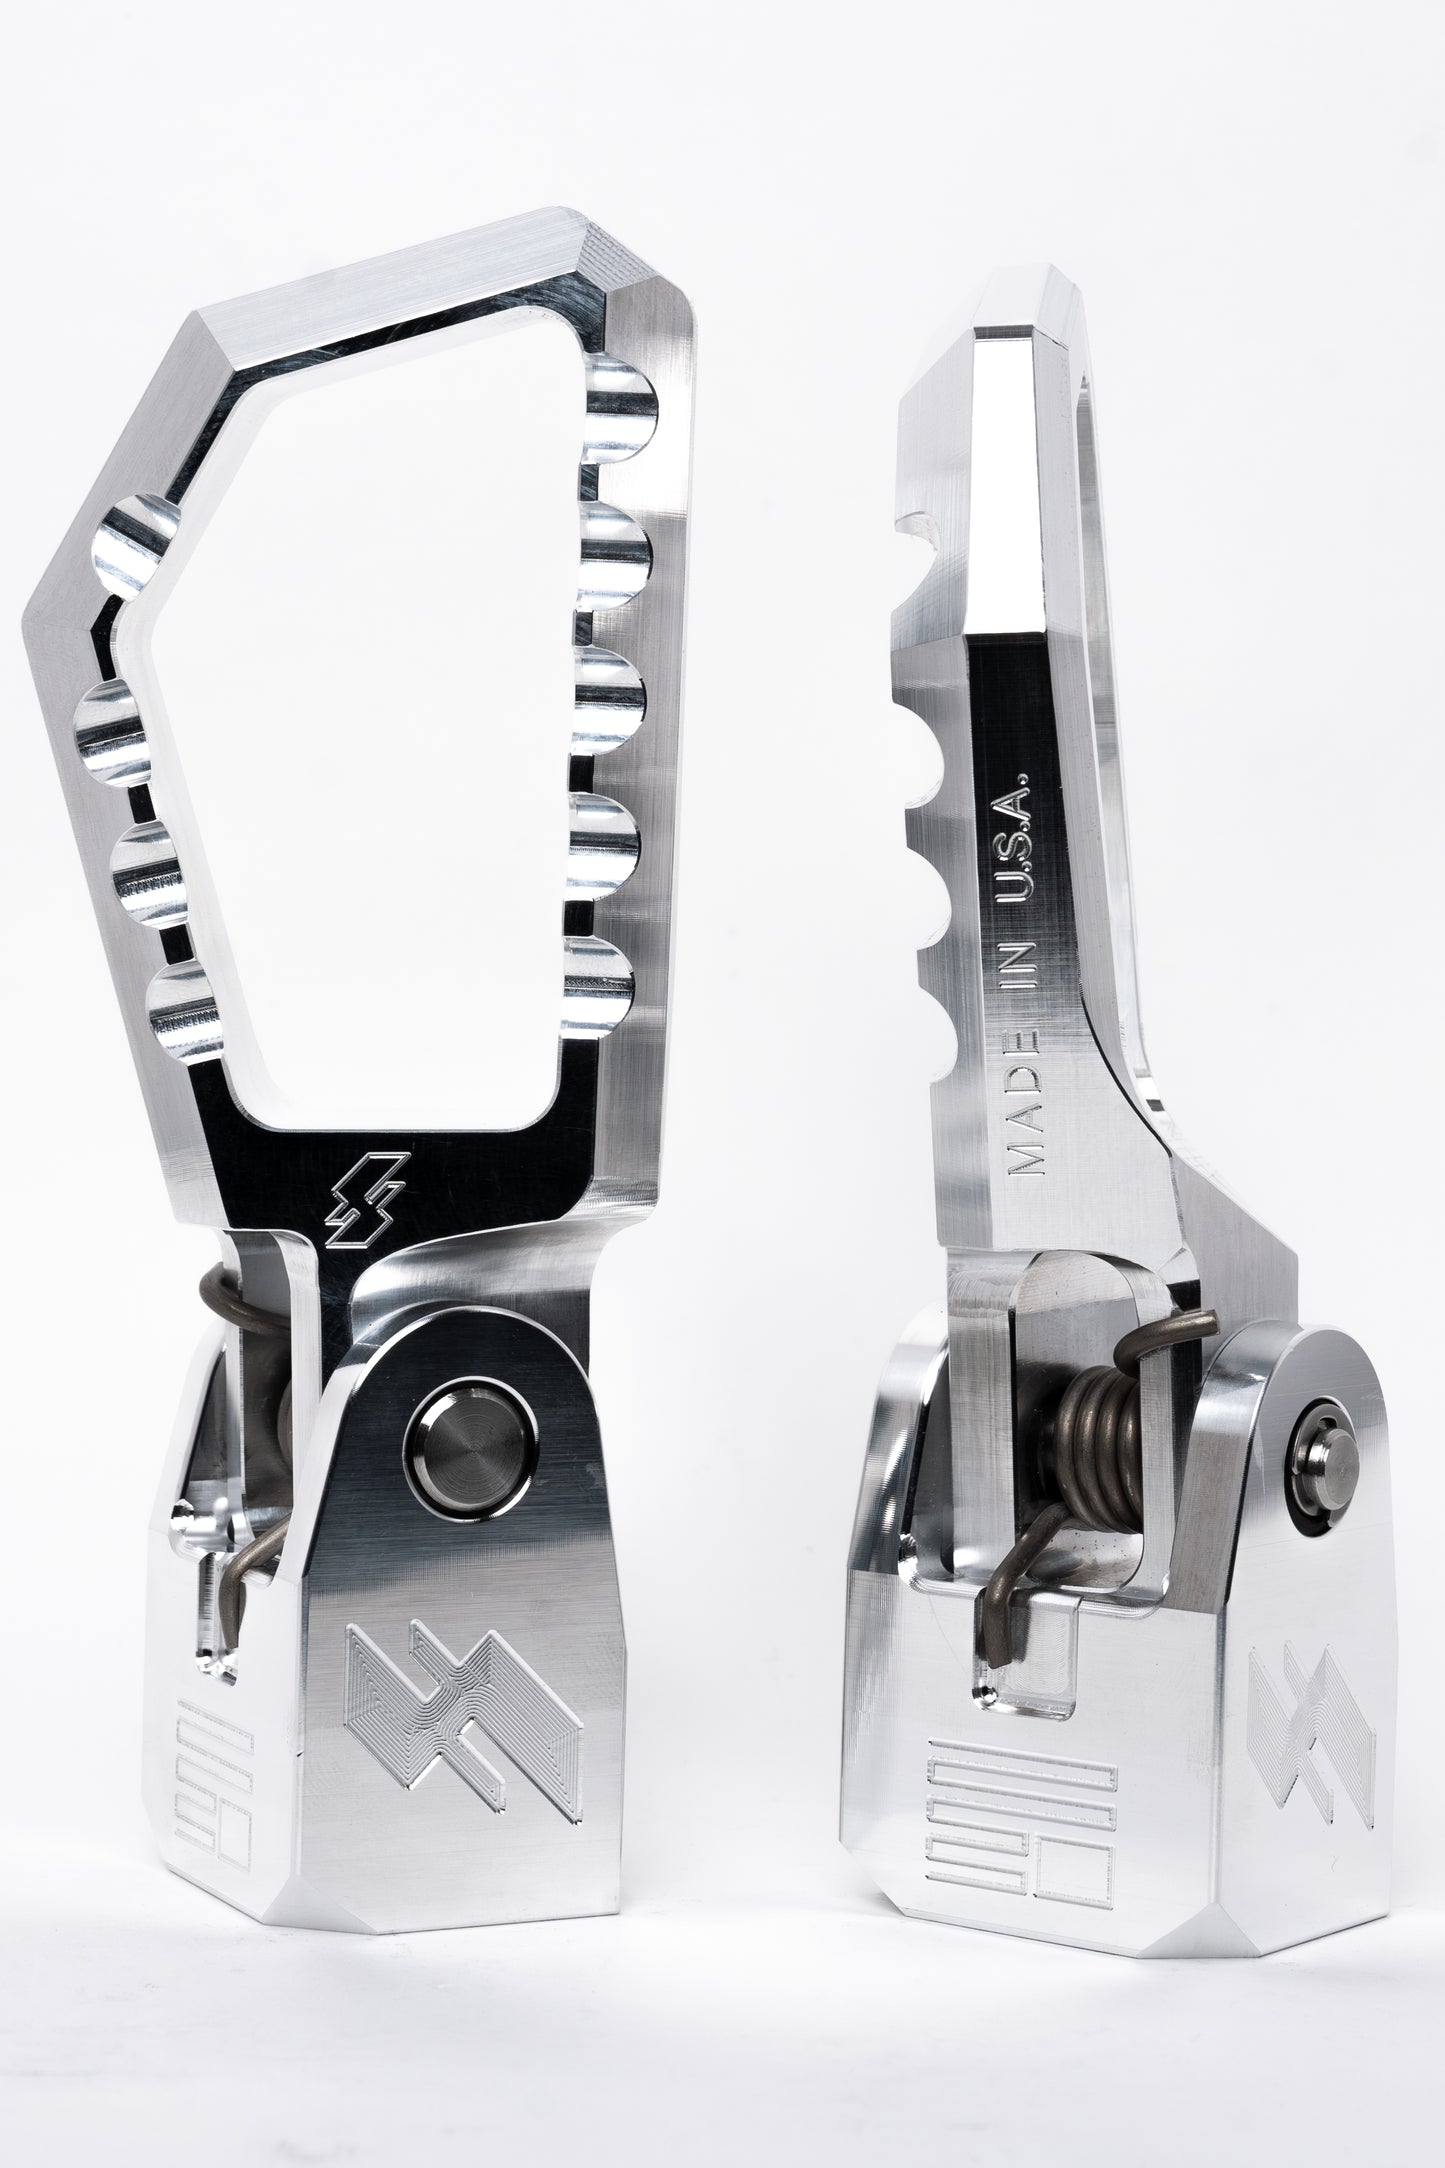
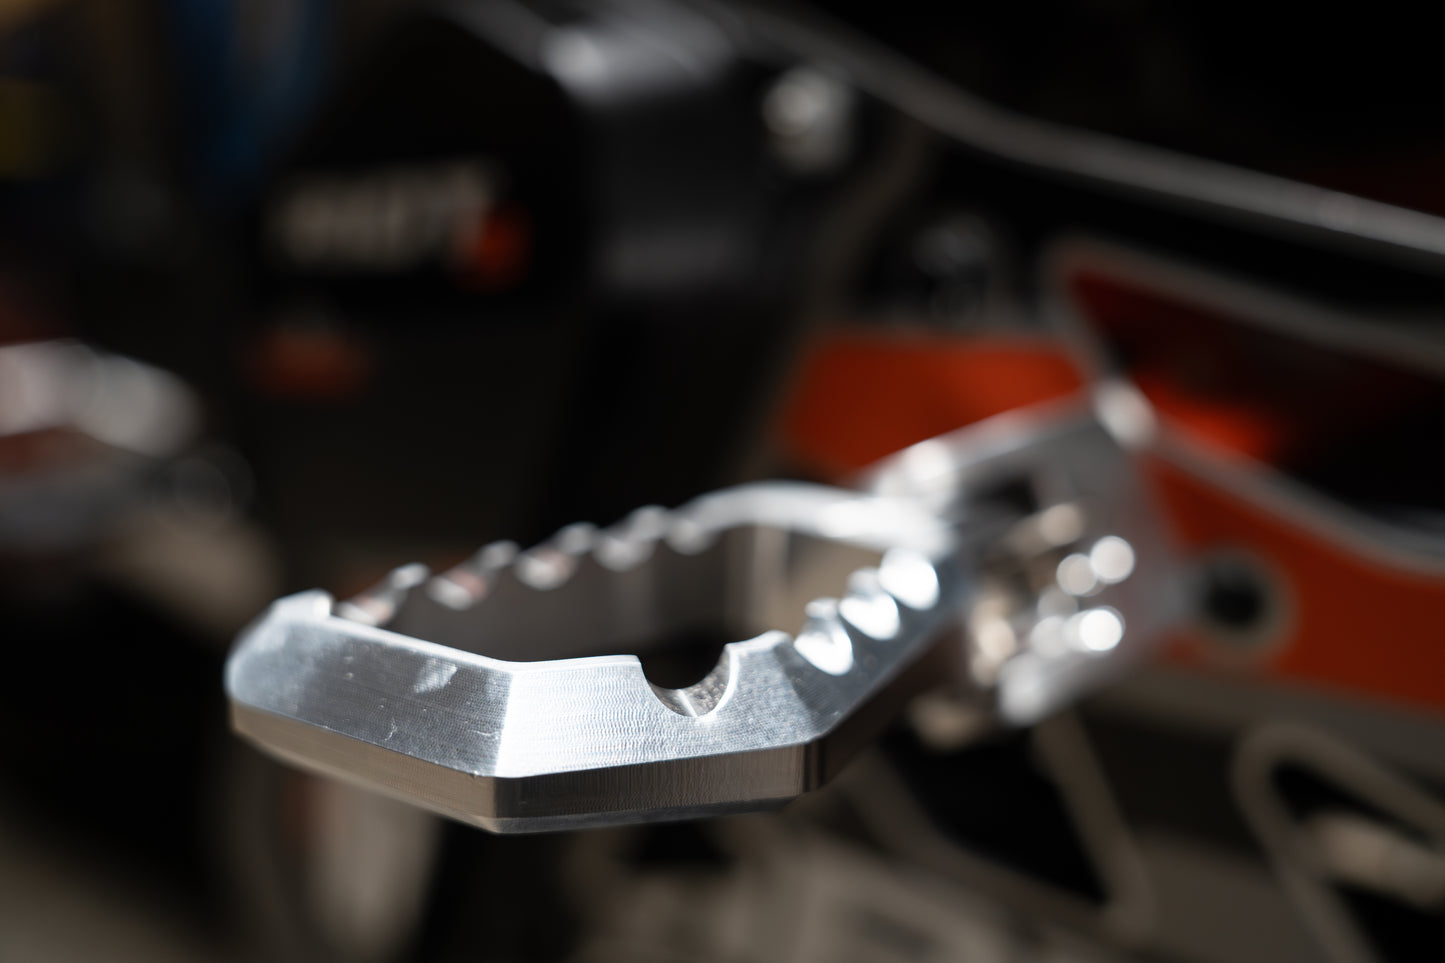
SOLD AS SET - FINISH IS RAW BILLET*
Couldn't load pickup availability
IN STOCK
ACTIVE MILITARY & VETERAN DISCOUNT AVAILABLE EMAIL CONTACT@SIDEHILLMOTO.COM
Made in the USA. Milled from solid blocks of 6061 Aluminum using 5-Axis CNC machines. Assembled using custom stainless steel pins and high quality USA made hardware.
*The raw finish, while beautiful, will tarnish but is easily polished.
View full details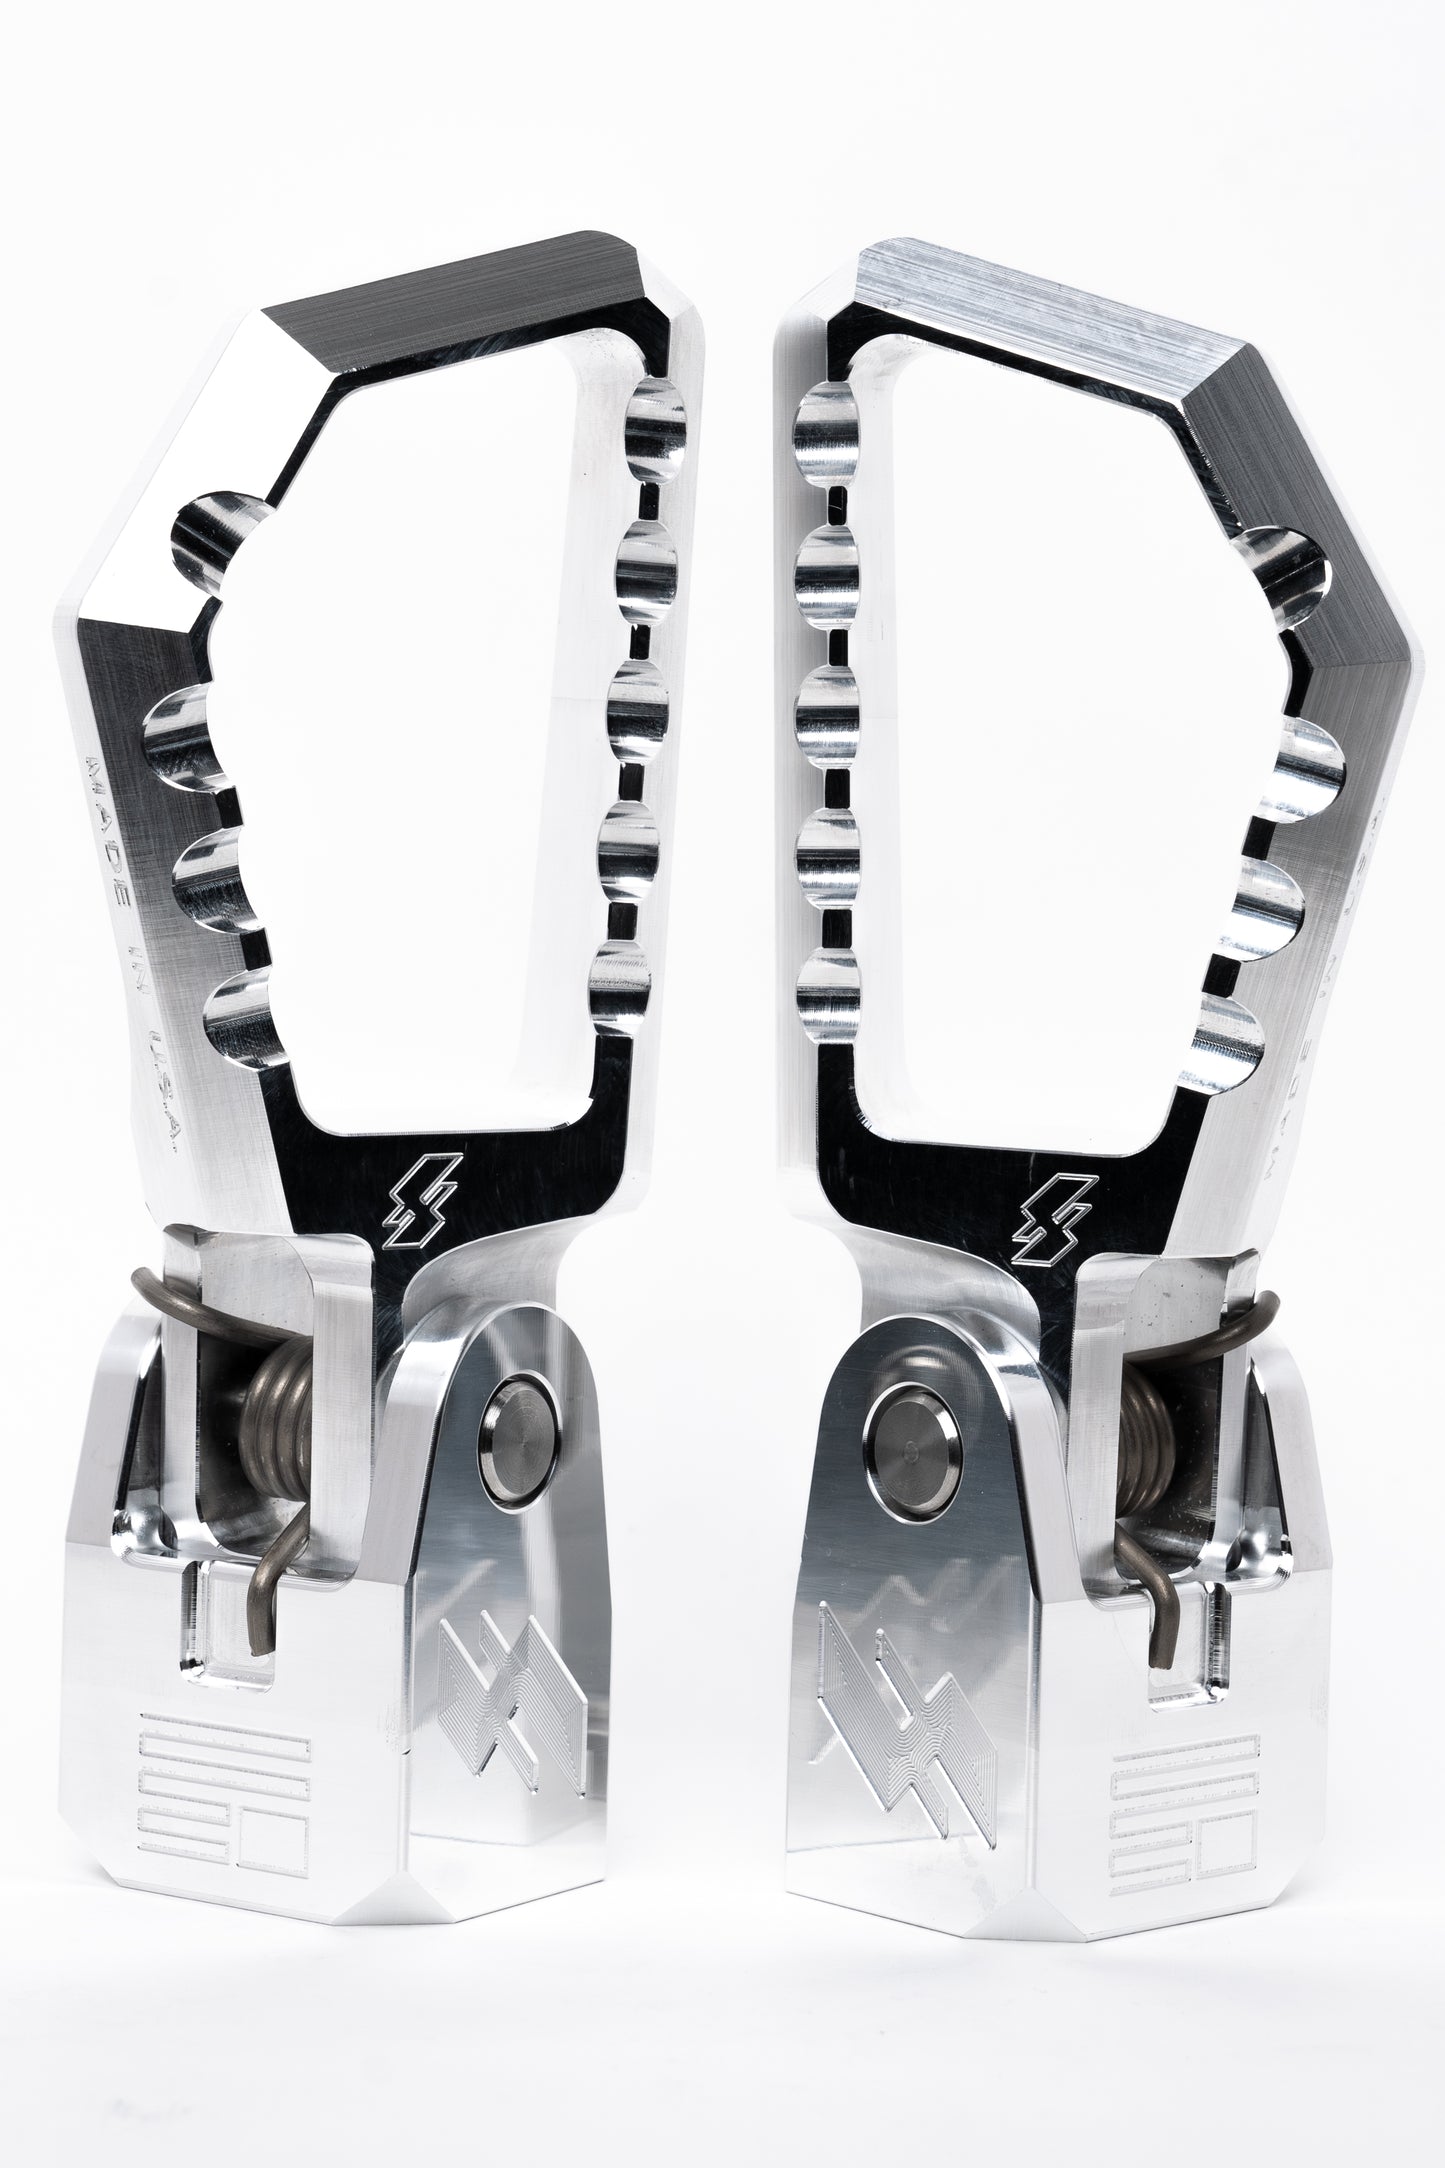
COMFIRMED FIT AND SKU
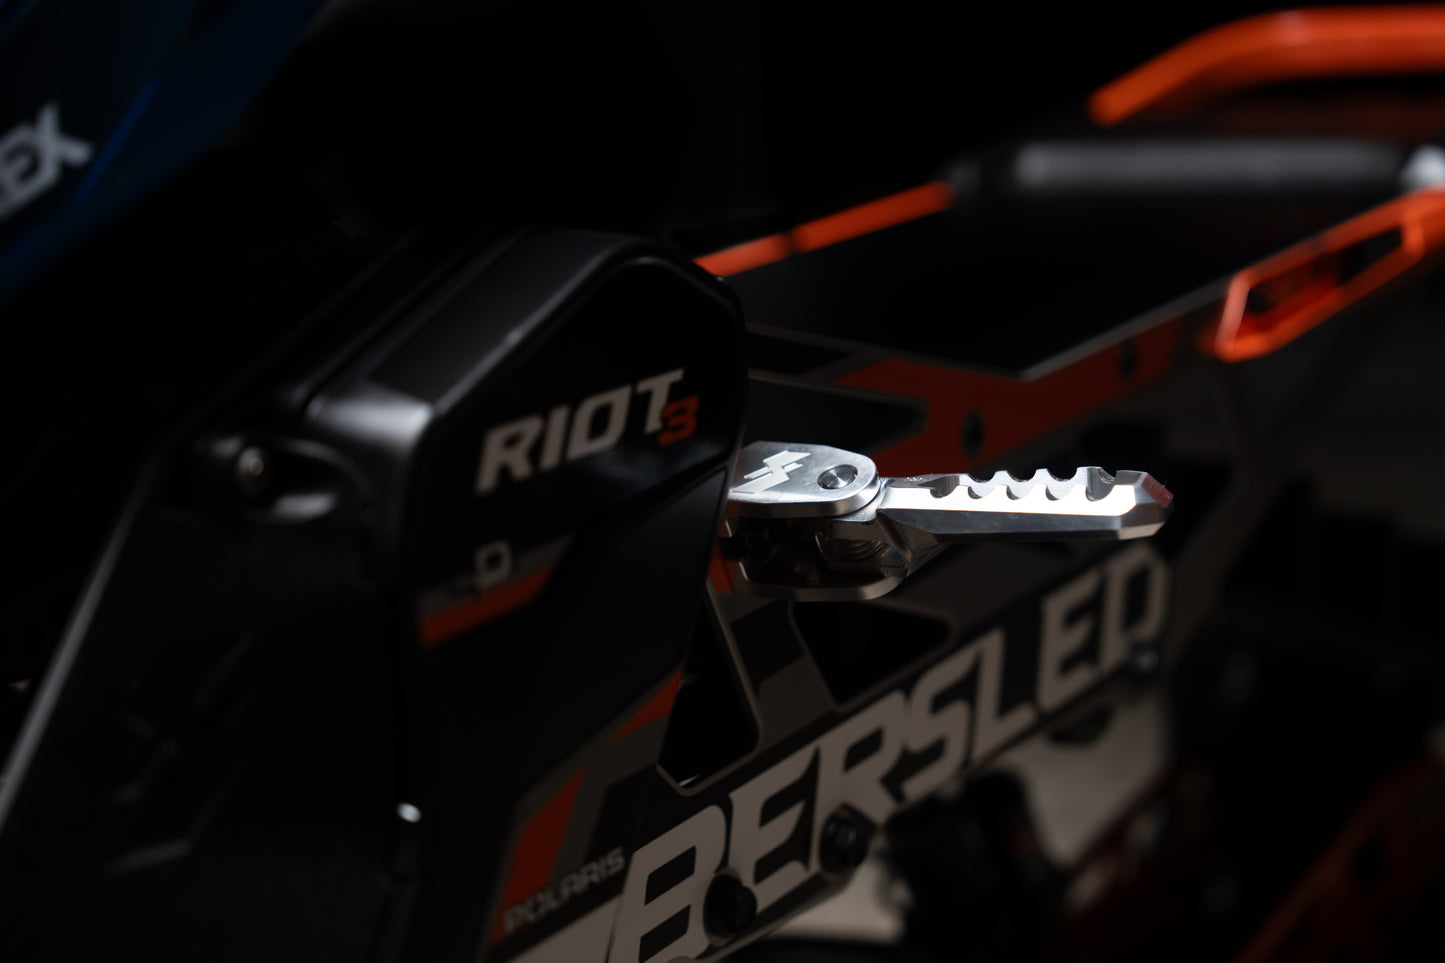
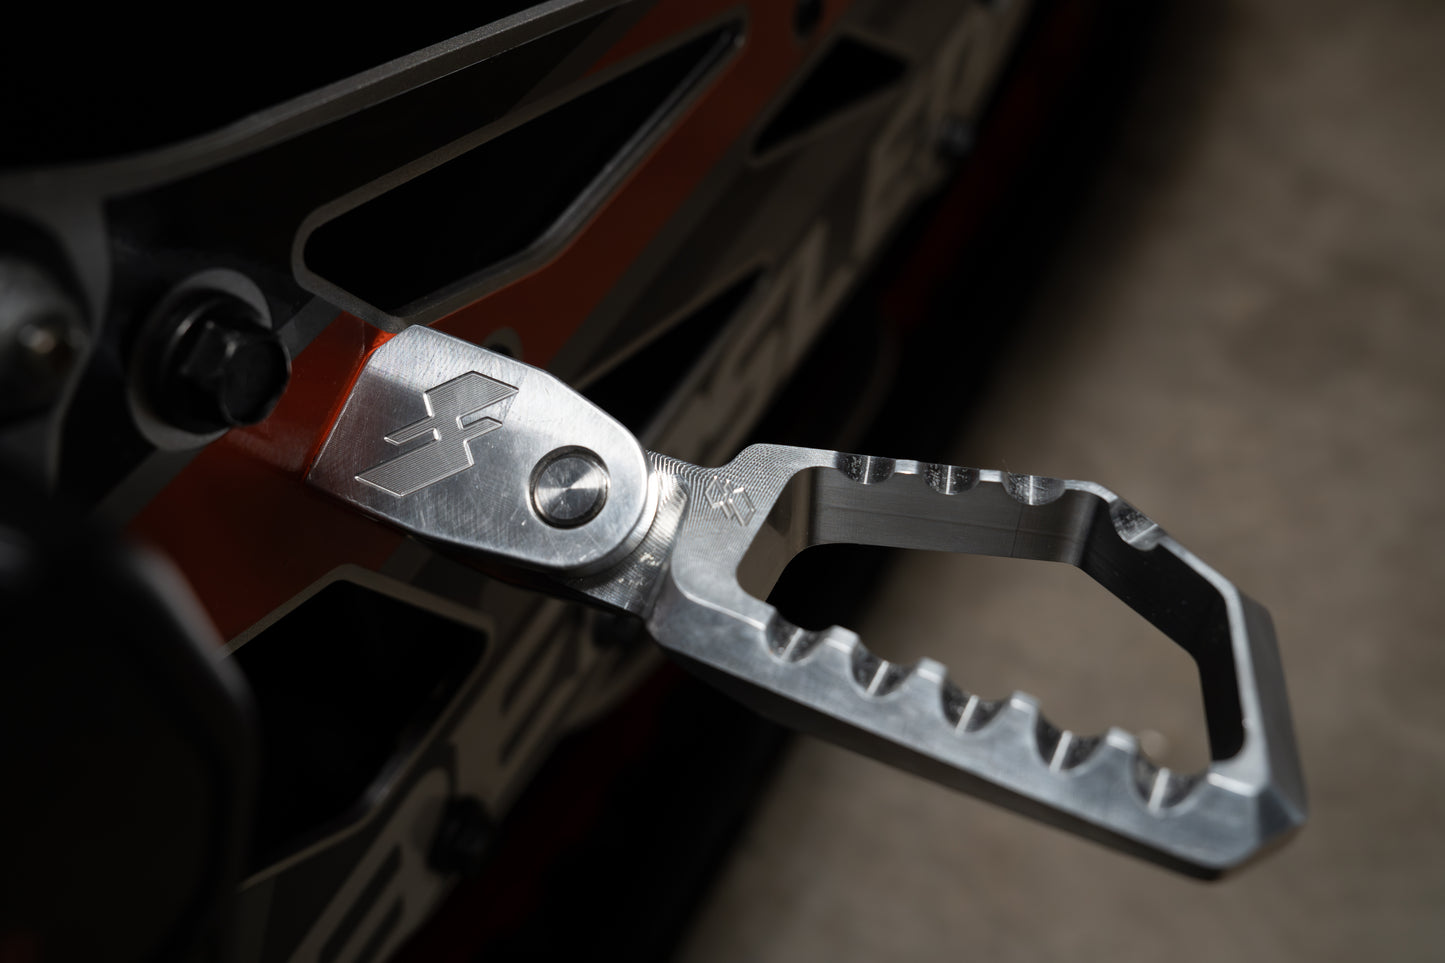
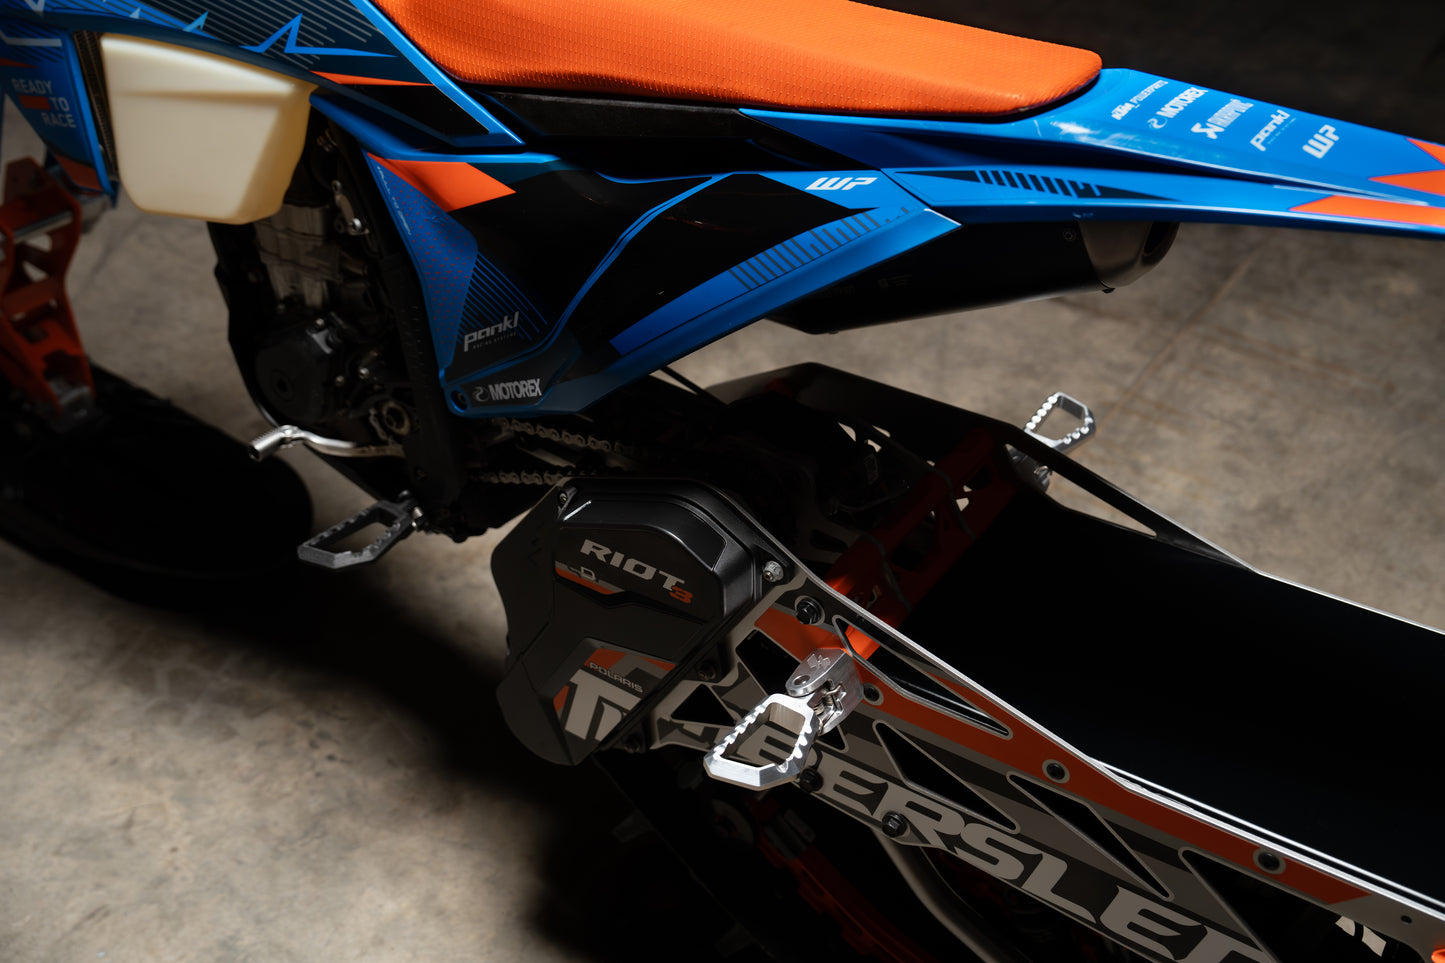
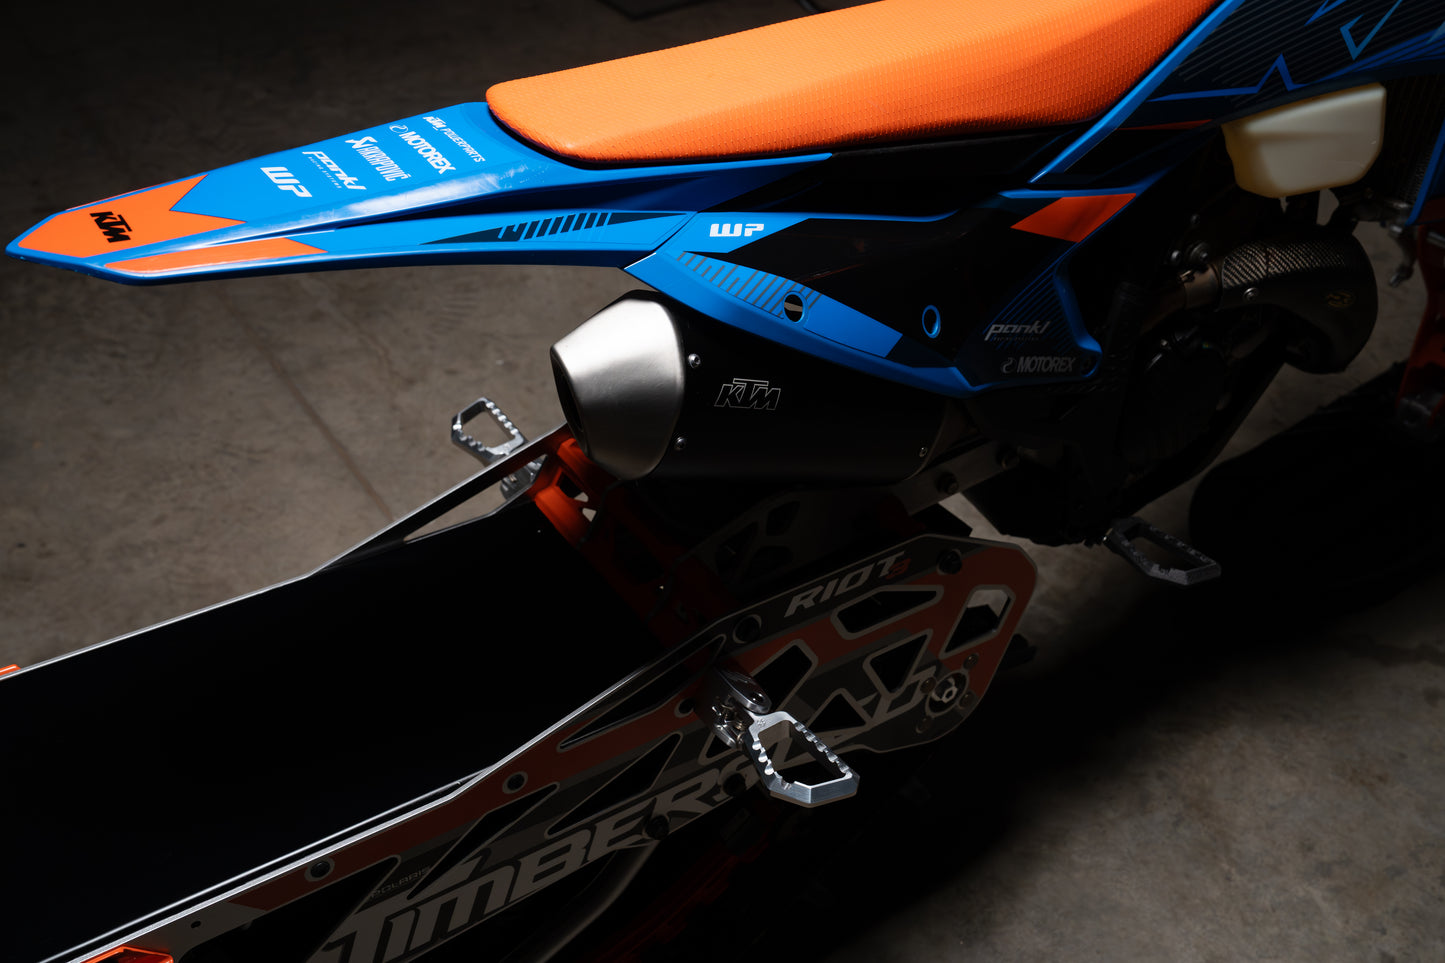
SKU 9701 - TIMBERSLED
ARO GEN 1, ARO GEN 1 S, ARO GEN 2, ARO GEN 2 S, RIOT 120, RIOT 3" 129 GEN 1, RIOT 3" GEN 1 S, RIOT 3" GEN 2, RIOT 3" GEN 2 S
SKU 9702 - MTN.top
XFR 129 2.5", XFR 126 3.25"
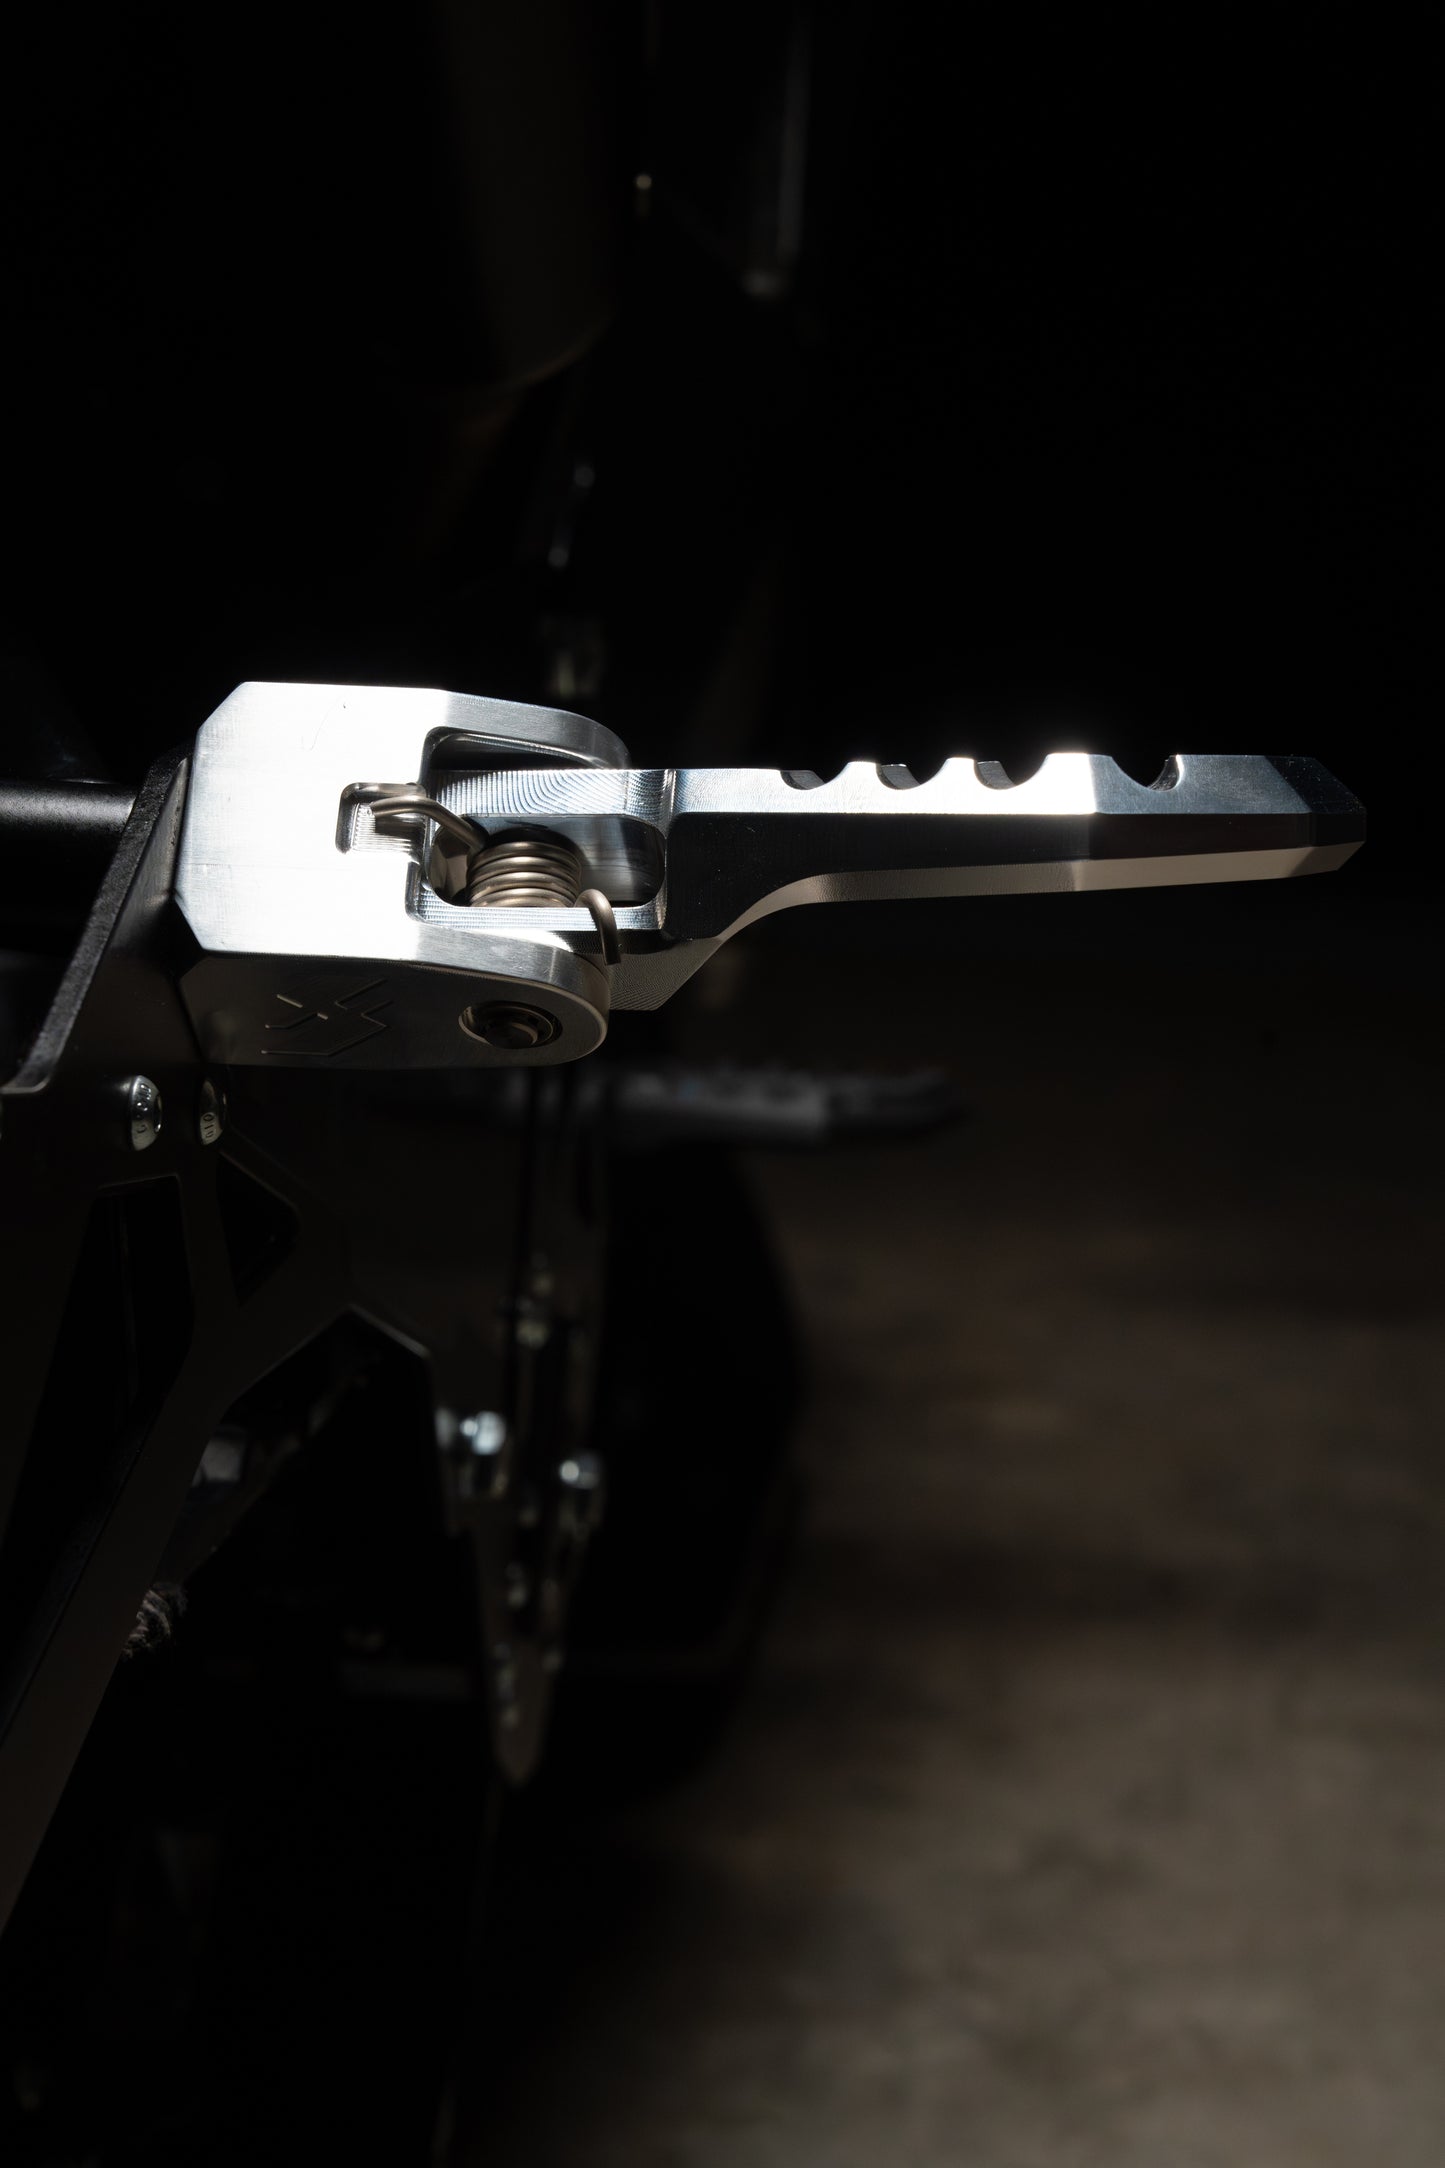
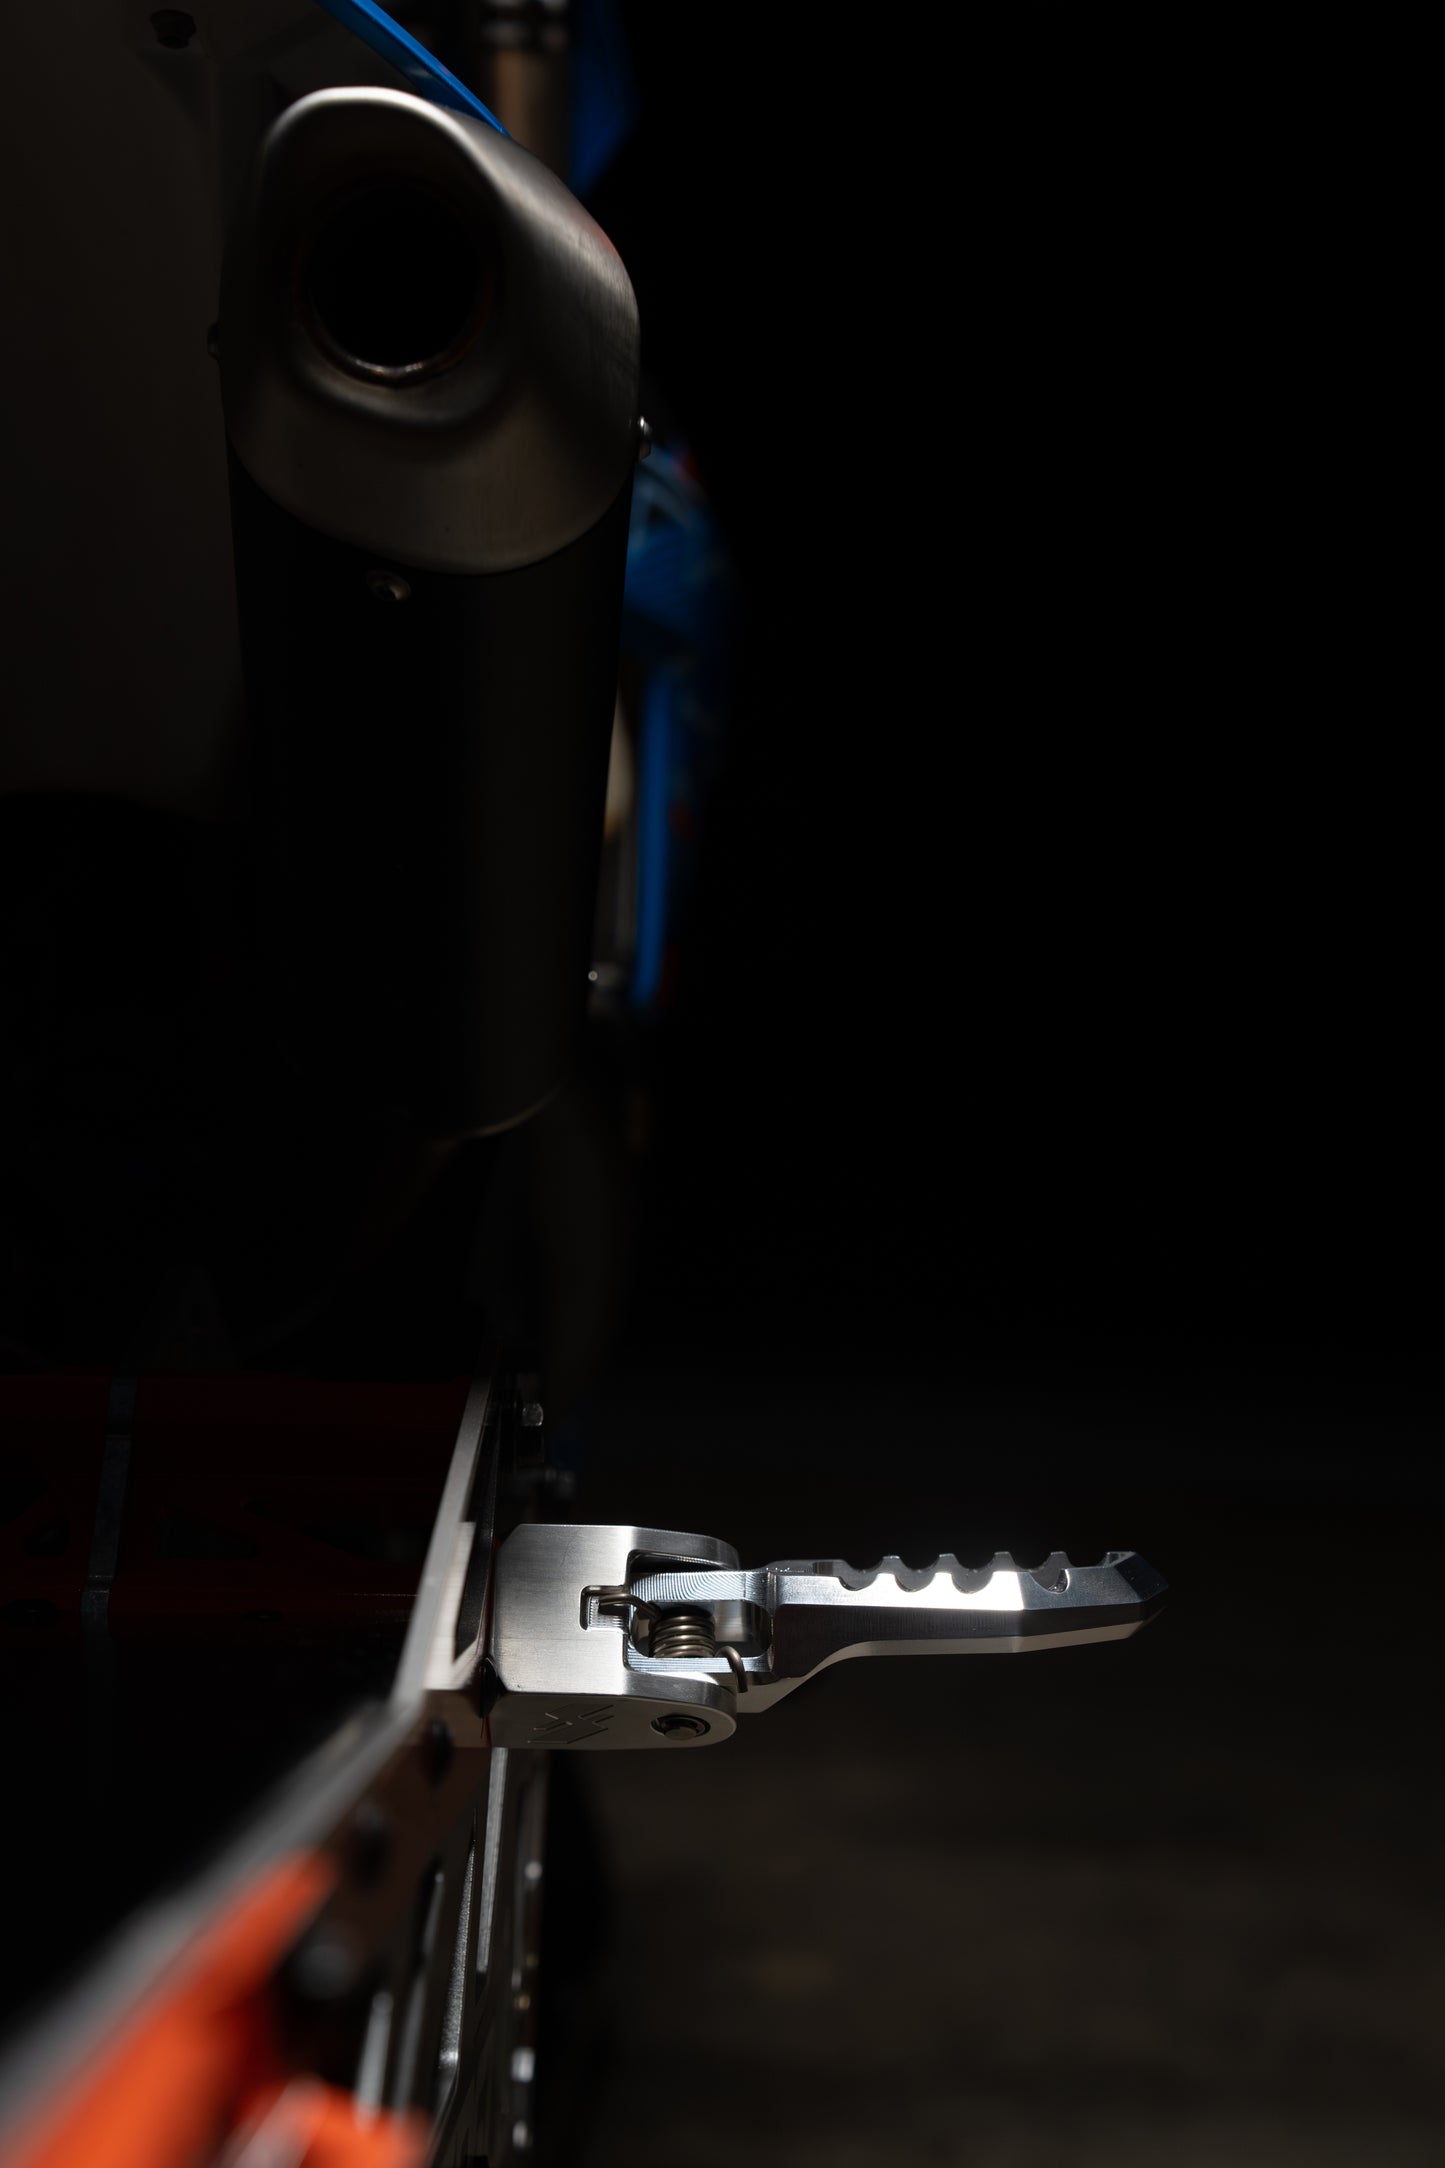
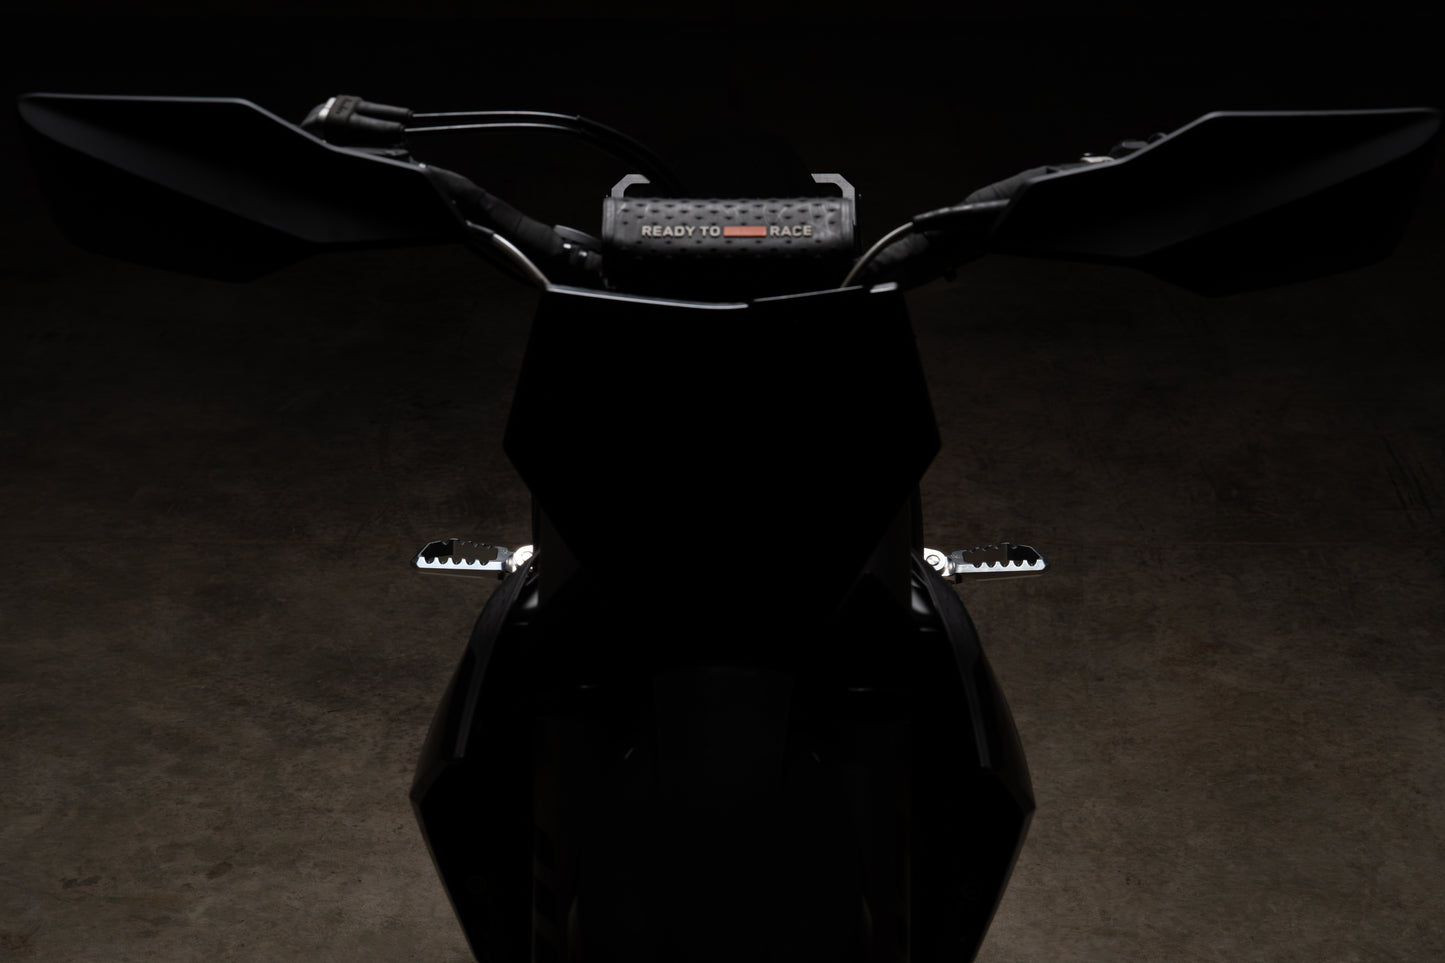
Why Fall-line and not wheelie pegs?
The idea was driven by the desire to ride wheelies more easily but after a day on the snow it was apparent this riding stance did a lot more than help loft the ski.
Standing on Fall-Line footpegs while climbing gives you more control than sitting. It takes the load off of your arms, back, and shoulders. You can relax and steer with your feet and legs.
So what about wheelies?
Lofting the ski is significantly easier, more controllable, and more fun with Fall-Line footpegs. You can easily achieve balance point to ride the longest wheelies of your life.
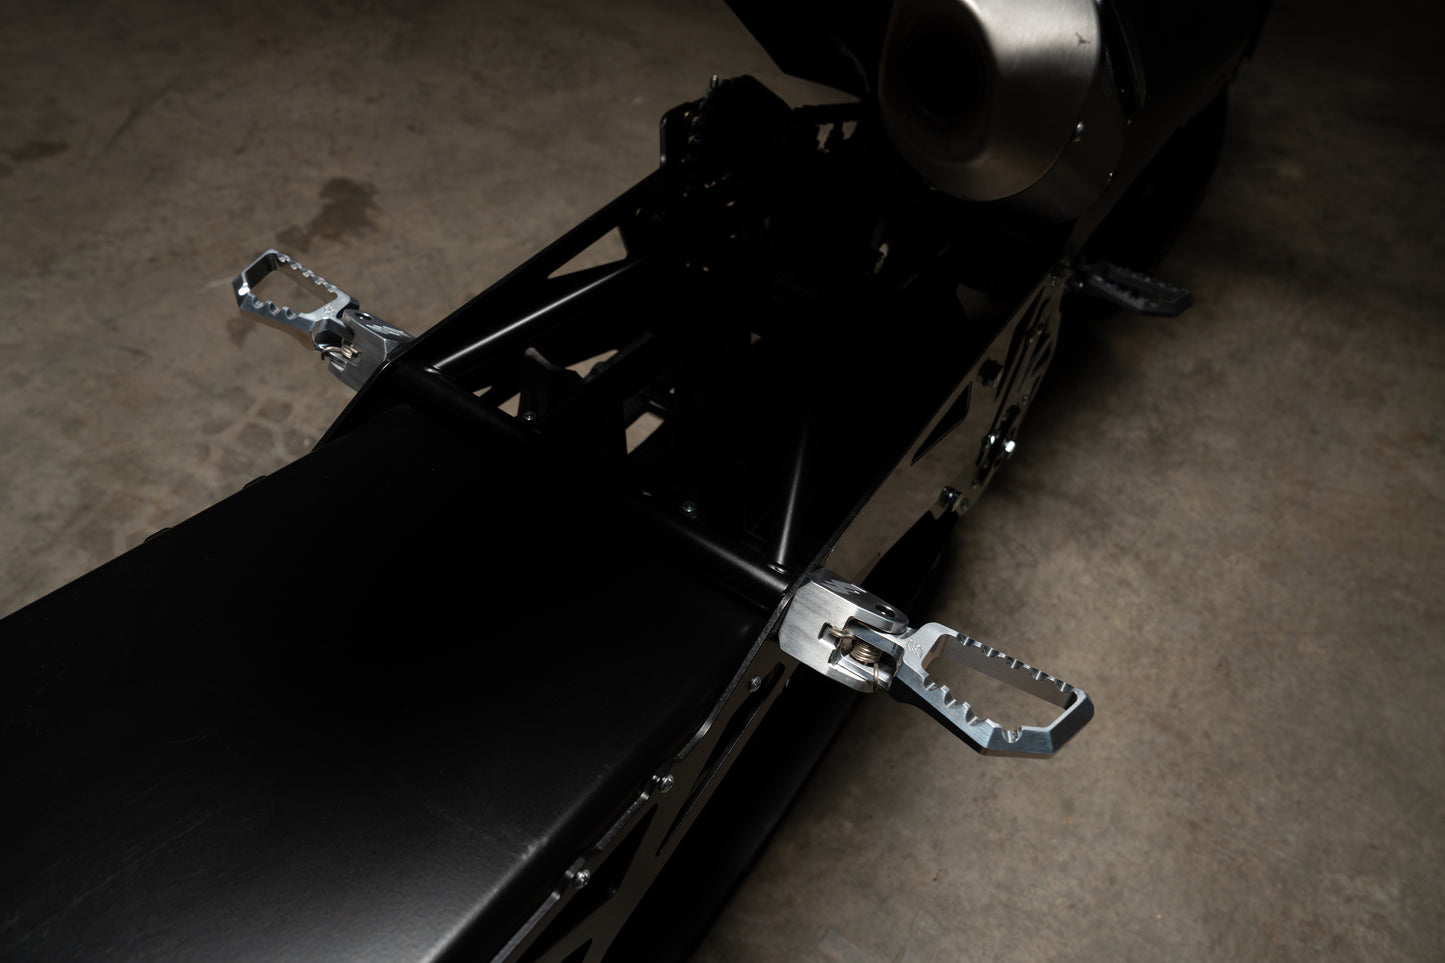
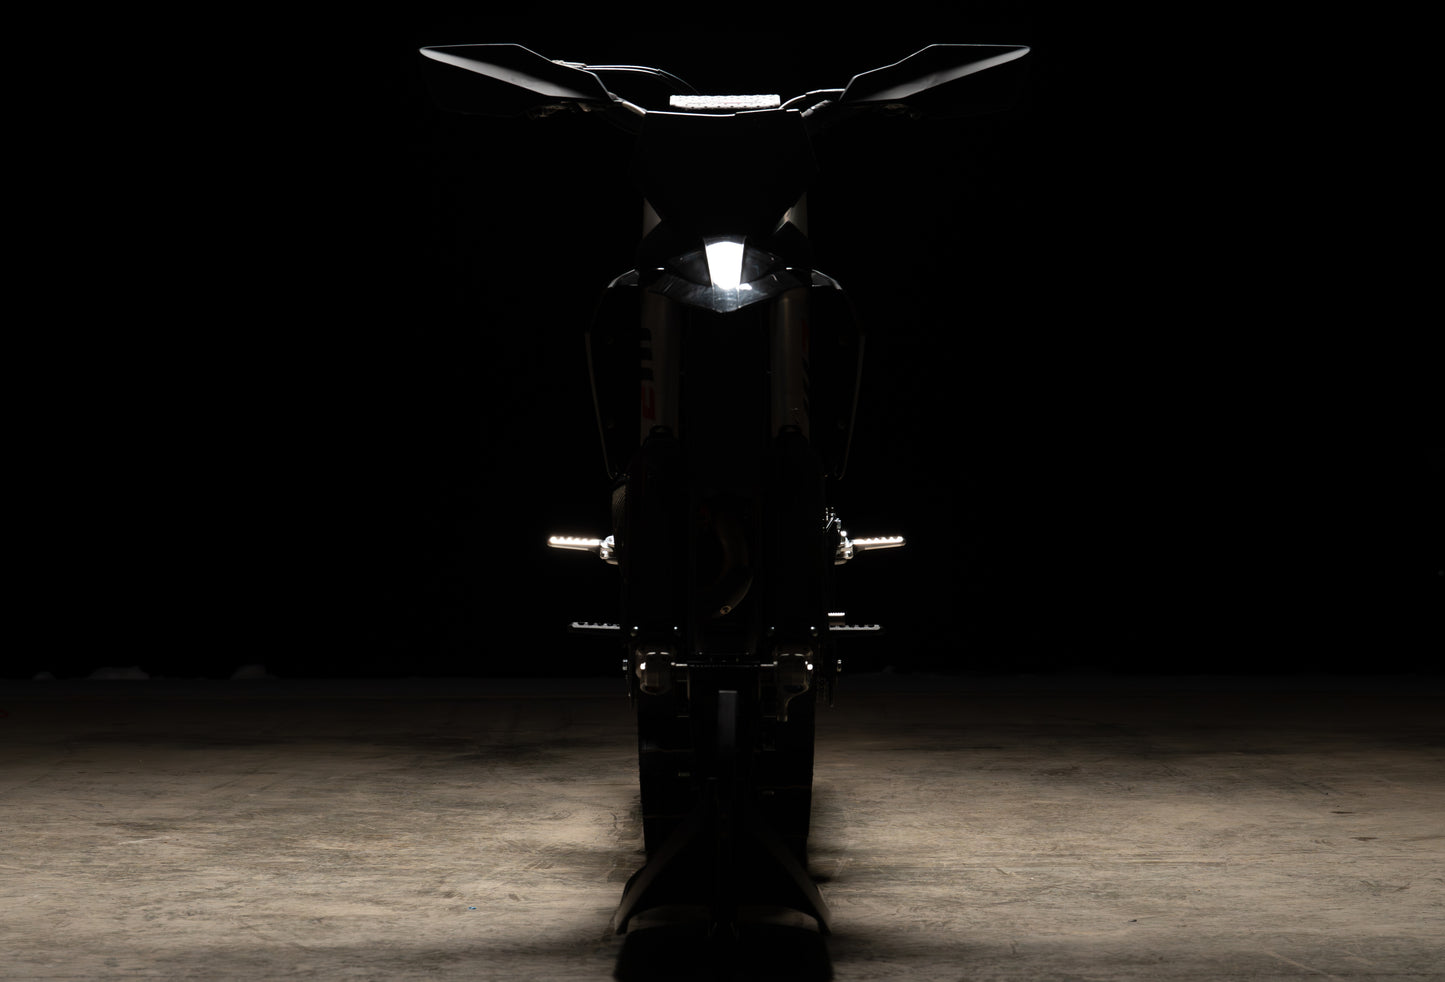
Should I throw my front pegs in the trash?
NO! The stock peg location is essential for descending, jumping, boosted re-entries, magical split stance riding and so much more!
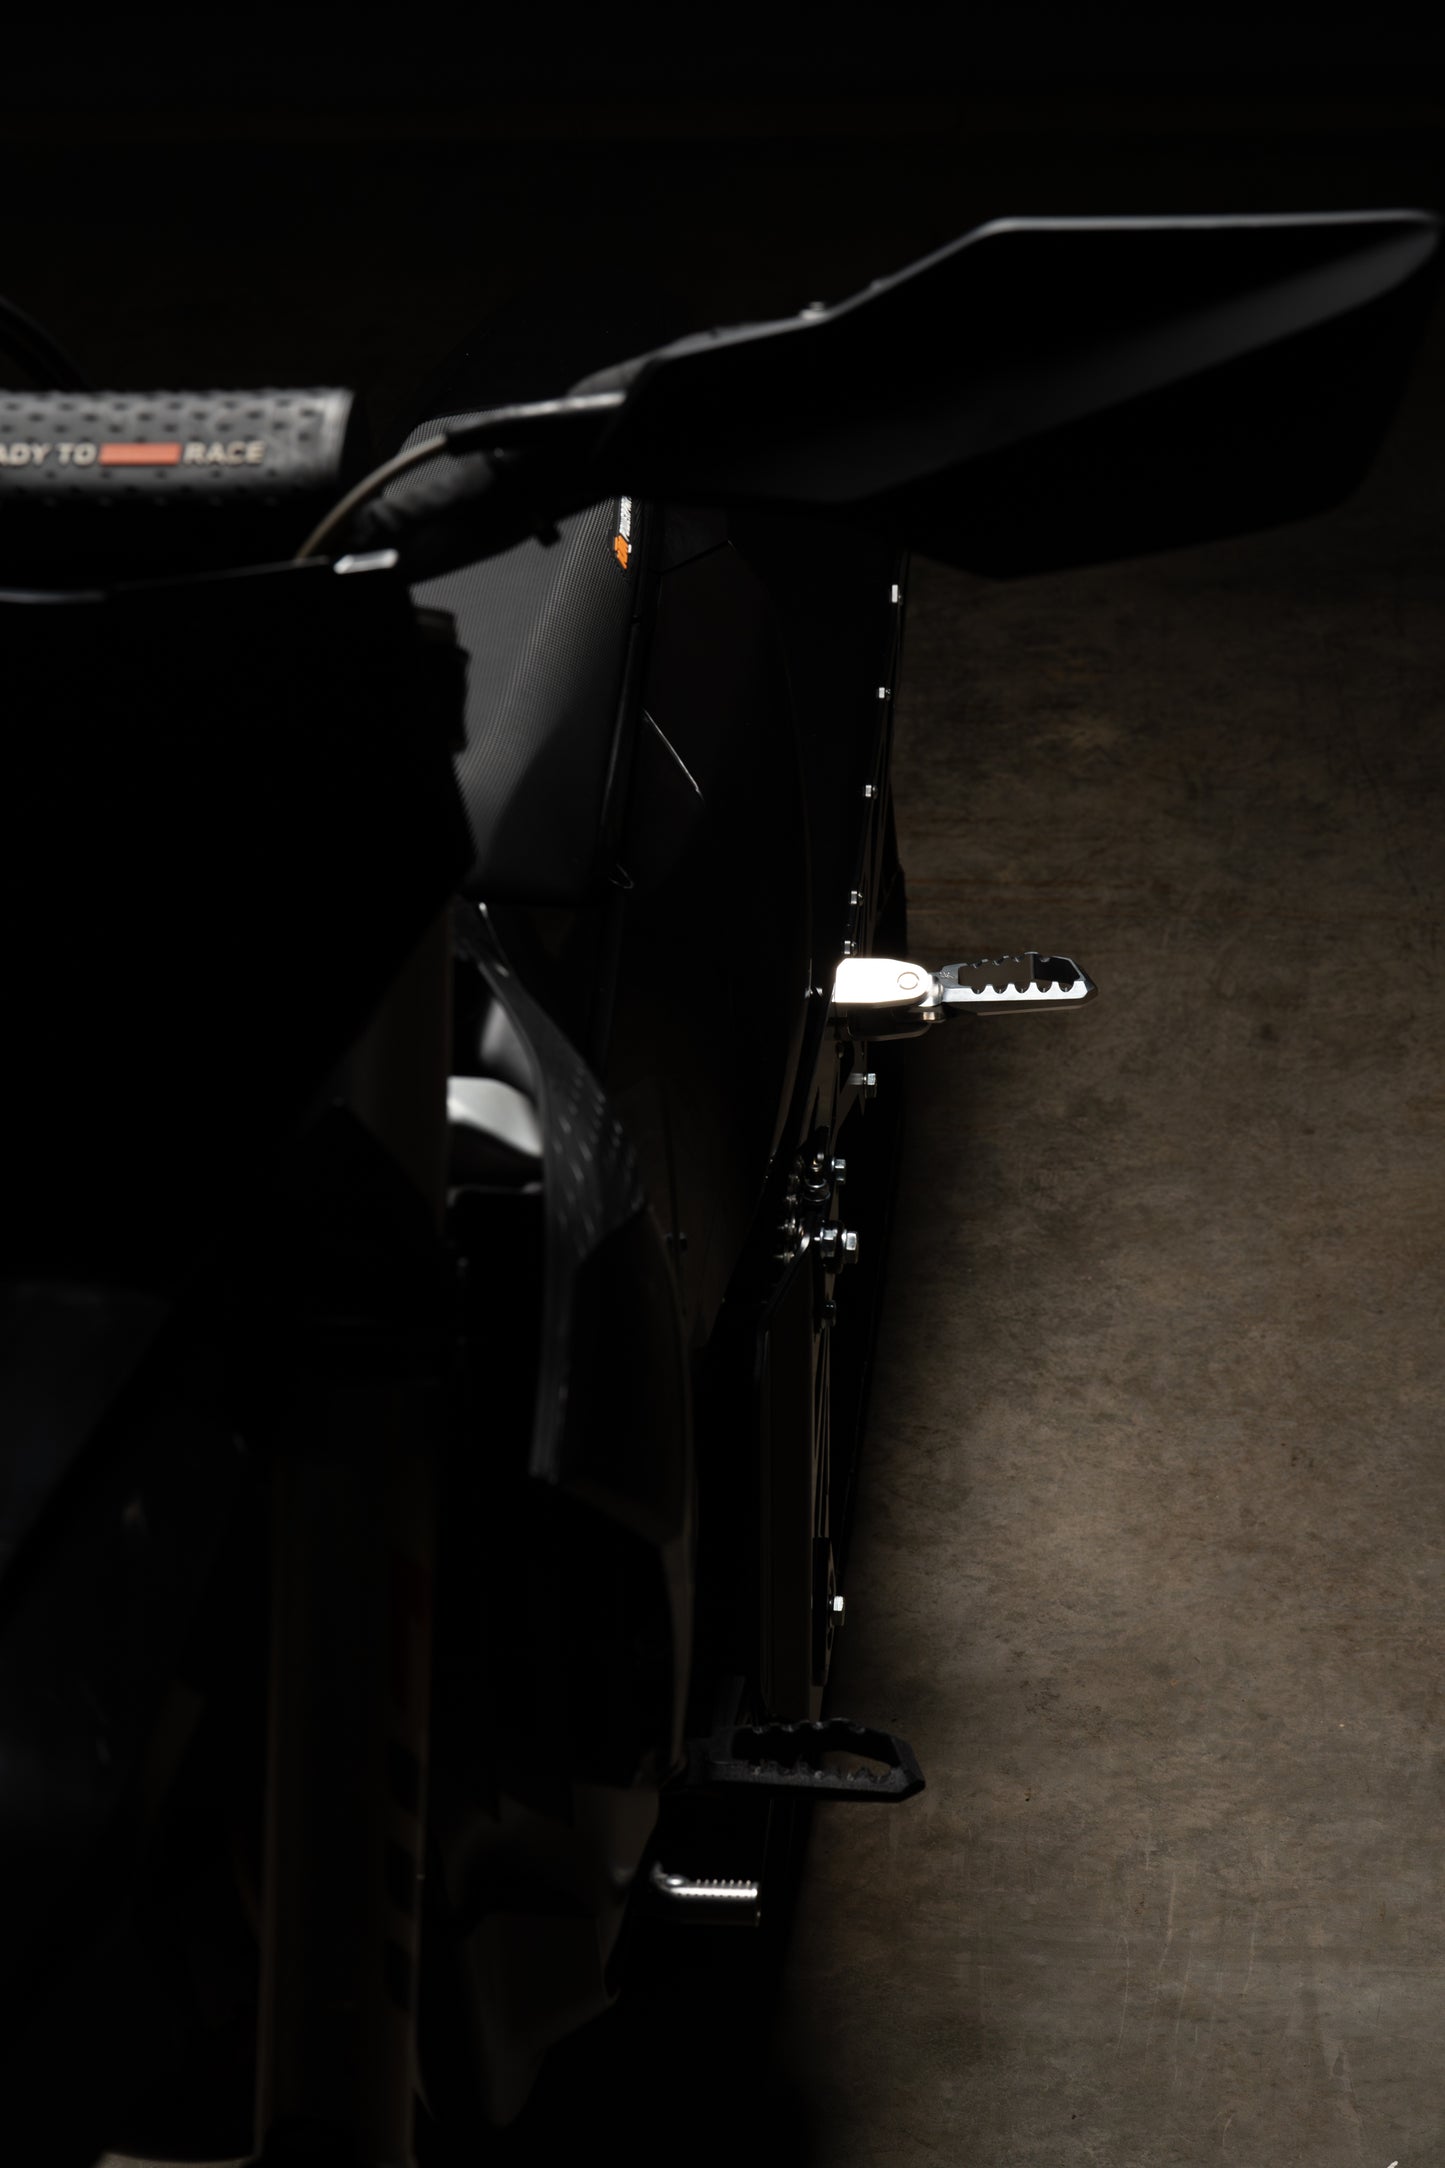
Alright, now I have four footpegs, what else can I do?
Shuttling for skiing or snowboarding, riding with your significant other, emergency situations, or rallying with your buddy for a good laugh; doubling up is now possible!

Easy Installation (Timbersled) - Tool Required: 15mm Box End Wrench (ratcheting wrench will not fit)
-

Step 1
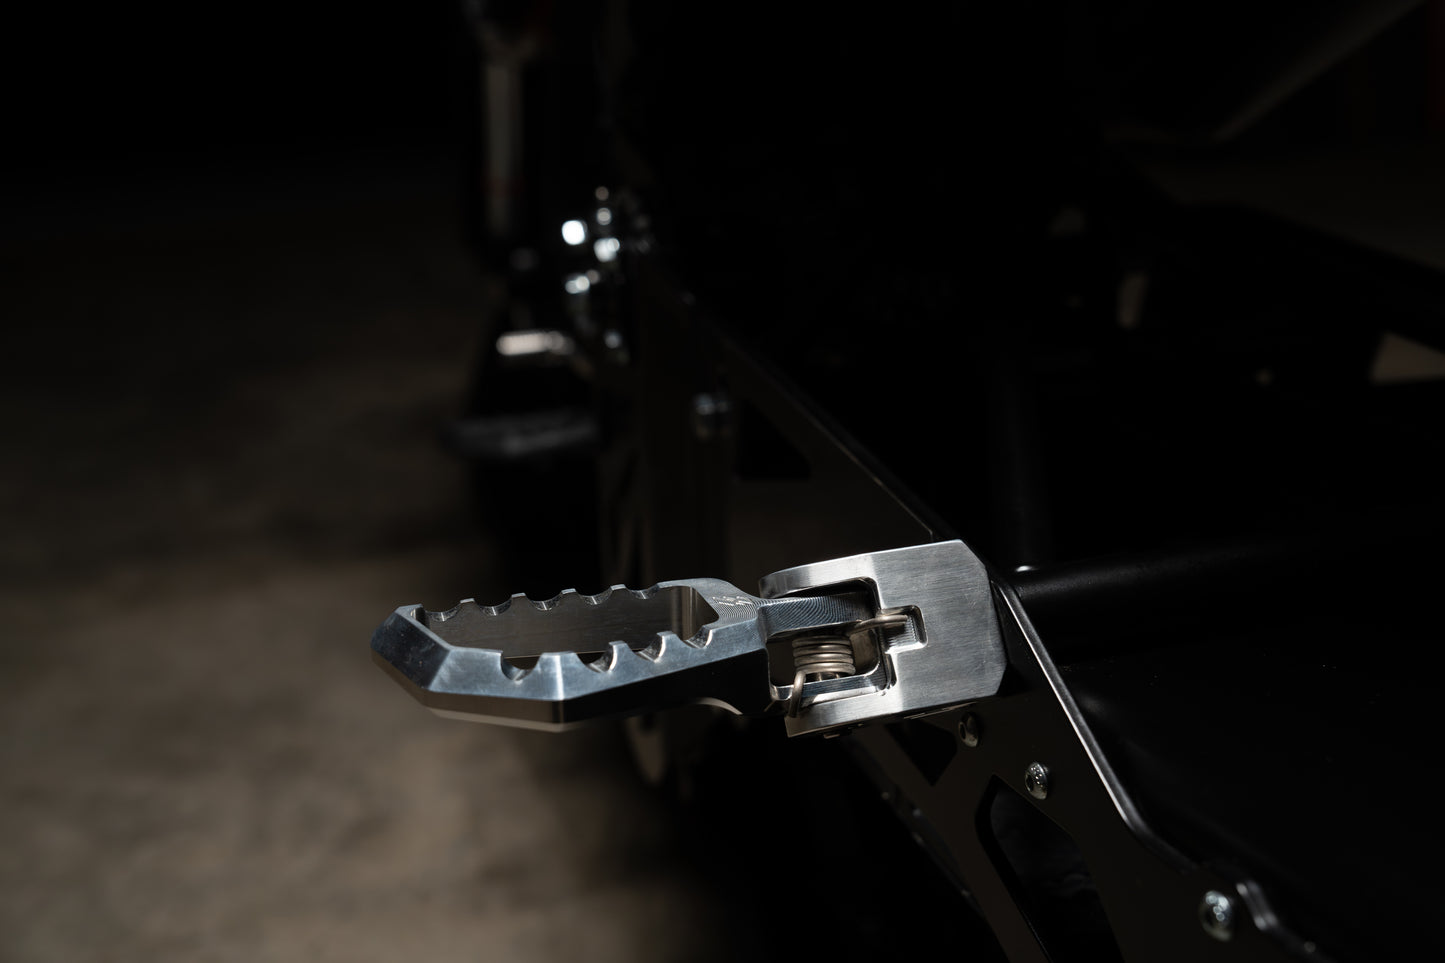
- DO NOT DISASSEMBLE FALL-LINE FOOTPEGS!!! Comes assembled for ease of installation
- Loosen bolt shown approx. 3/8" out using 15mm box end wrench.
- We recommend trimming your decal so the footpeg mount sits directly against the side panel
-

Step 2
- Make sure washer is up against bolt head
- Slide on Fall-Line footpeg
- Tighten until snug but loose enough to rotate
-

Step 3
- Rotate until footpeg is level and corner notch is in line with button head bolt on side panel.
- Tighten appropriately
-

Step 4
- GO RIDE!


Easy Installation (MTN.TOP) -Tool Required: 17mm Box End Wrench (ratcheting wrench will not fit)
-

Step 1
- DO NOT DISASSEMBLE FALL-LINE FOOTPEGS!!! Comes assembled for ease of installation
- For 25+ MTN.TOPs Loosen bolt shown approx. 3/8" out
- For 23-24 MTN.TOPs Remove stock bolt on as shown swap stock washer onto the longer bolt we provide
- We recommend trimming the decal so the footpeg mount sits directly against the side panel
-

Step 2
- Start threads by hand until approx. 3/8" of threads are showing.
- Make sure washer is against bolt head
- Slide on Fall-Line footpeg
- Tighten until snug but loose enough to rotate
-

Step 3
- Rotate peg until it's level
- Tighten appropriately
-

Step 4
- GO RIDE!


